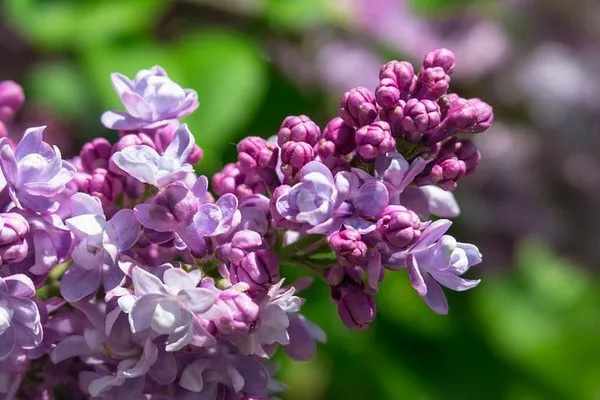
Paper flower bouquets have gained immense popularity in recent years due to their charm and long-lasting beauty. Whether you’re creating a bouquet for a special occasion or simply seeking a unique and sustainable gift, mastering the art of wrapping a paper flower bouquet is essential to elevate the presentation and showcase your creativity. In this comprehensive guide, we will take you through the step-by-step process of wrapping a stunning paper flower bouquet, ensuring it becomes a masterpiece that will captivate the recipient.
Materials Needed
Before we dive into the wrapping process, gather the necessary materials to ensure a seamless experience:
Paper flowers: Handmade or store-bought paper flowers of your choice and color scheme.
Floral wire and tape: These materials will help secure the stems of your paper flowers.
Floral foam: Provides a sturdy base for your bouquet and helps maintain the shape.
Ribbon and decorative elements: Choose ribbon that complements your bouquet and any additional decorations you wish to add.
Scissors: A sharp pair of scissors for cutting paper and other materials.
Wrapping paper: High-quality, decorative wrapping paper to wrap the bouquet.
Step-by-Step Guide to Wrap a Paper Flower Bouquet
Step 1: Arrange Your Paper Flowers
Before wrapping, take time to arrange your paper flowers into a cohesive bouquet. Consider the colors, sizes, and shapes of the flowers to create a visually appealing arrangement. Trim the floral wire to various lengths according to your desired bouquet size, and attach it to the bottom of each flower using floral tape to form the stems. Once the bouquet is arranged to your satisfaction, it’s time to proceed to the next step.
Step 2: Prepare the Floral Foam
To create a stable base for your bouquet, insert the floral foam into a suitable container, such as a vase or decorative pot. The foam should be cut to fit snugly inside the container, providing support for the paper flower stems.
Step 3: Secure the Bouquet to the Floral Foam
Carefully insert the paper flower stems into the floral foam, ensuring they are evenly spaced and securely positioned. The foam will hold the bouquet in place and prevent it from shifting during the wrapping process.
Step 4: Choose the Perfect Wrapping Paper
Select a high-quality wrapping paper that complements the colors and theme of your paper flower bouquet. Solid colors or patterns that match the occasion can add an extra touch of elegance to the presentation.
Step 5: Measure and Cut the Wrapping Paper
Measure the height and width of the floral foam container and add a few inches to each measurement to accommodate the bouquet’s size. Cut the wrapping paper accordingly, ensuring it covers the foam completely with enough excess on all sides.
Step 6: Wrap the Bouquet
Center the floral foam container on the backside of the wrapping paper and carefully fold the paper over the container’s sides. Use tape or glue to secure the paper in place. Be gentle to avoid damaging the paper flowers or dislodging them from the foam.
Step 7: Create a Neat Bottom
Gather the excess wrapping paper at the bottom of the bouquet and fold it neatly to form a clean and polished look. Secure the folds with tape or glue, making sure it is firmly held in place.
Step 8: Adding Ribbon and Decorative Elements
To add a finishing touch, tie a ribbon around the base of the bouquet where the wrapping paper is folded. You can experiment with different ribbon styles and colors to achieve the desired effect. Furthermore, consider embellishing the bouquet with decorative elements such as small pearls, beads, or faux leaves to enhance its beauty.
Step 9: Final Touches and Inspection
Take a few moments to inspect the bouquet and make any necessary adjustments. Ensure that all elements are securely fastened and the paper flowers remain intact. Check for any loose ends or messy areas and tidy them up as required.
Conclusion
Wrapping a paper flower bouquet is an art that requires creativity, attention to detail, and patience. A beautifully wrapped bouquet not only showcases your artistic skills but also demonstrates the effort and thoughtfulness put into creating a unique and memorable gift. By following this step-by-step guide, you can master the art of wrapping paper flower bouquets and surprise your loved ones with stunning and thoughtful creations for any occasion. So, pick up your paper flowers and let your creativity blossom as you embark on this enchanting journey of paper flower bouquet wrapping.


