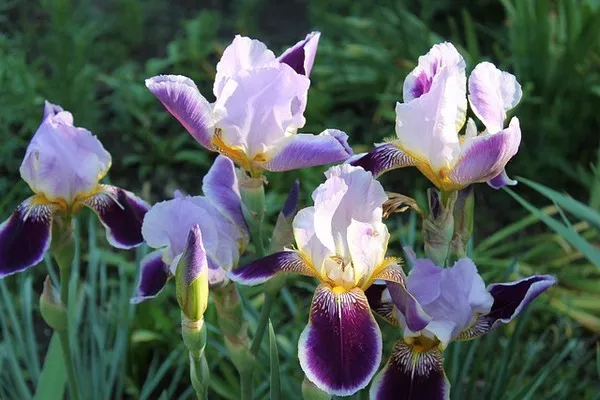
Flowers have captivated humans for centuries with their vibrant colors, delicate petals, and intricate structures. Pressed flowers, in particular, offer a unique way to capture and preserve their beauty, allowing us to create timeless pieces of art. If you’re a creative soul looking to enhance your crafting skills, mastering the art of sticking pressed flowers to paper is a skill worth cultivating. In this guide, we will explore the techniques and considerations necessary to create stunning floral arrangements on paper.
Materials You’ll Need:
Before delving into the process, gather the necessary materials:
Pressed Flowers: Start by selecting flowers that are relatively flat and dry. Flowers with thin petals, such as pansies, daisies, and violets, tend to work well for this purpose.
Heavy Books or Flower Press: To press the flowers, you’ll need heavy books or a dedicated flower press. Place the flowers between layers of absorbent paper and apply pressure to flatten them.
Acid-Free Paper: Choose acid-free paper to prevent deterioration over time. Archival quality paper ensures the longevity of your creations.
Tweezers: Tweezers aid in handling delicate flowers and placing them precisely.
Adhesive: Consider using acid-free glue or double-sided tape. This ensures the flowers adhere securely without causing damage.
Small Paintbrush: A fine paintbrush comes in handy for applying adhesive to the flowers.
Frame or Display Case (Optional): If you wish to frame your pressed flower creation, have an appropriate frame or display case ready.
Step-by-Step Process:
1. Preparing the Flowers:
Begin by selecting flowers at their peak freshness. Lay them flat between layers of absorbent paper within a heavy book or flower press. Allow them to dry and flatten for about two weeks.
2. Choosing the Layout:
Plan the arrangement of your pressed flowers on the acid-free paper. Experiment with various layouts before committing to a design. Once you’re satisfied, take a photograph for reference.
3. Applying Adhesive:
Carefully lift one pressed flower at a time using tweezers. Apply a tiny amount of acid-free glue to the back of the flower using a small paintbrush. Alternatively, cut double-sided tape into smaller pieces and attach them strategically to the flower.
4. Placing the Flowers:
Gently position the flower on the acid-free paper according to your planned layout. Press down lightly to ensure proper adhesion. Use tweezers to adjust the position if needed.
5. Adding Layers:
For a multi-dimensional effect, layer the pressed flowers. Start with larger flowers as the base and gradually add smaller flowers or petals on top. This creates depth and visual interest.
6. Handling Delicate Flowers:
Extremely delicate flowers might tear or lose their color when handled excessively. To avoid this, handle them minimally and with tweezers. If a flower does tear, you can still use its intact parts creatively.
7. Balanced Composition:
Aim for a balanced composition by distributing flowers evenly across the paper. Consider factors such as color, size, and shape while arranging. You want the final piece to be visually pleasing and harmonious.
8. Pressing and Drying:
After adhering all the flowers, place a clean sheet of absorbent paper on top and press the entire arrangement under a heavy book or another flower press. This step ensures that the flowers adhere firmly to the paper. Allow it to dry for a day or two.
9. Framing (Optional):
If you intend to frame your pressed flower artwork, ensure the paper fits within the frame properly. Use acid-free adhesive to attach the artwork to a mounting board or within a mat. Assemble the frame carefully to prevent damage to the delicate flowers.
10. Display and Care:
Once your pressed flower creation is ready, decide on an appropriate location for display. Keep the artwork away from direct sunlight, humidity, and extreme temperature changes to prevent fading and deterioration. Regularly dust the glass or surface of the frame to maintain its clarity.
Preservation Tips:
Avoid Moisture: Moisture can cause pressed flowers to lose their color and shape. Always work in a dry environment and store the finished piece in a dry, cool place.
Use Archival Materials: Choose acid-free and archival-quality materials to ensure the longevity of your pressed flower artwork. Acidic materials can cause yellowing and deterioration over time.
Experiment and Learn: Pressing flowers and creating botanical art is a form of artistic expression. Embrace experimentation and learn from your mistakes. Over time, you’ll develop your own techniques and style.
Document Your Process: Keep a journal of the flowers you use, the techniques you try, and the outcomes you achieve. This documentation can serve as a valuable resource for future projects.
Preserving the ephemeral beauty of flowers through pressed flower art allows you to connect with nature in a creative and meaningful way. Whether you’re crafting greeting cards, bookmarks, or framed artwork, the process of sticking pressed flowers to paper demands patience, attention to detail, and a deep appreciation for the natural world. As you refine your skills, you’ll find yourself creating exquisite pieces of art that encapsulate the charm of blooming flowers for years to come.


