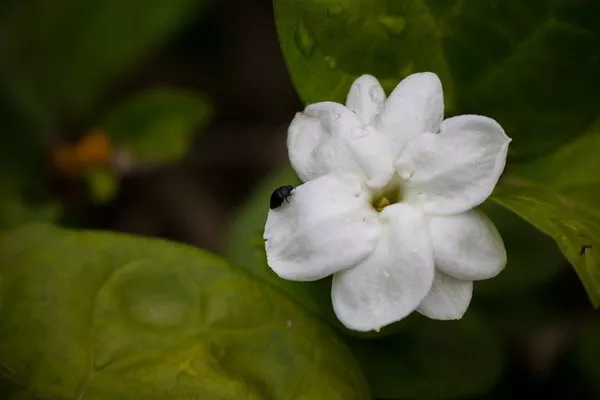
Starting flower seeds indoors can be a rewarding and cost-effective way to jumpstart your garden. Whether you’re a seasoned gardener looking to experiment with new varieties or a beginner eager to nurture your green thumb, this comprehensive guide will walk you through the process of successfully starting flower seeds indoors. By following these steps, you can ensure healthier, more vibrant blooms that will brighten your garden for months to come.
Selecting the Right Seeds
Before you can start growing flowers indoors, you need to choose the right seeds. Consider factors such as your climate, soil type, and available space when making your selection. Some popular flower seeds for indoor cultivation include marigolds, petunias, zinnias, and cosmos. Be sure to read the seed packets carefully for specific planting instructions, including the recommended planting depth, spacing, and germination time.
Gather the Necessary Supplies
To begin your indoor flower seed project, gather the essential supplies:
Containers: Opt for seed trays, peat pots, or cell packs with drainage holes to prevent waterlogged soil.
Seed Starting Mix: This specialized potting mix is lighter and better-suited for germinating seeds than regular garden soil.
Seeds: Purchase high-quality seeds from reputable suppliers.
Grow Lights: If natural light is limited, invest in fluorescent or LED grow lights to provide adequate illumination for your seedlings.
Heat Mat: A heat mat can help maintain consistent soil temperature, promoting faster germination.
Watering Can or Spray Bottle: You’ll need a gentle way to water your delicate seedlings.
Labels: Use plant labels or popsicle sticks to keep track of the seed varieties you’re growing.
Plastic Dome or Plastic Wrap: To create a mini greenhouse effect for humidity.
Choosing the Right Location
Select a suitable location for your indoor seed-starting setup. Ideally, choose a spot with:
Consistent Temperature: Avoid drafty areas and ensure the temperature remains between 65-75°F (18-24°C).
Adequate Light: If natural light is insufficient, set up your grow lights, positioning them 2-4 inches above the seedlings.
Proximity to Water Source: Ensure easy access to water for regular watering.
Preparing the Containers
Before planting, thoroughly clean and disinfect your containers to prevent diseases. Fill them with the seed starting mix, leaving a 1/4 inch (0.6 cm) gap at the top. Moisten the mix evenly but avoid making it waterlogged.
Planting the Seeds
Follow these steps for successful seed planting:
Read Seed Packets: Refer to the seed packets for specific planting instructions. Some seeds may require stratification (cold treatment) or scarification (abrasion) before planting.
Plant at the Appropriate Depth: Plant the seeds at the recommended depth, usually 2-3 times the seed’s diameter. Use a small stick or your finger to make shallow holes.
Spacing: Space the seeds according to the guidelines provided on the seed packets.
Cover and Water: Gently cover the seeds with a thin layer of seed starting mix and water them using a spray bottle or a gentle stream of water from a watering can.
Providing Proper Care
To ensure healthy seedlings, you must provide them with the right care:
Maintain Consistent Moisture: Keep the soil consistently moist but not waterlogged. Avoid letting the soil dry out completely or overwatering, which can lead to mold and root rot.
Humidity: Cover your containers with a plastic dome or plastic wrap to create a mini greenhouse effect. This helps maintain high humidity levels, which are essential for germination.
Ventilation: Once seedlings emerge, remove the plastic covering to prevent mold and promote air circulation.
Lighting: Ensure your seedlings receive 14-16 hours of light daily. Adjust the height of grow lights to keep them 2-4 inches above the seedlings.
Fertilization: Wait until your seedlings have at least two true leaves before fertilizing them with a diluted, balanced liquid fertilizer.
Transplanting Seedlings
When your seedlings have developed several sets of leaves and are sturdy enough, it’s time to transplant them into larger pots or directly into your garden. Here’s how:
Harden Off: Gradually acclimate your seedlings to outdoor conditions by placing them outside for increasing periods each day over the course of a week.
Choose the Right Time: Transplant seedlings when outdoor temperatures and soil have warmed to match the flower’s specific requirements.
Prepare the Garden Bed: If transplanting to the garden, prepare the soil by loosening it and amending it with compost.
Transplanting: Gently remove seedlings from their containers, being careful not to damage the roots. Dig a hole in the garden bed or prepare a larger pot and place the seedling at the same depth it was growing indoors.
Watering: Water the newly transplanted seedlings thoroughly and keep the soil consistently moist as they establish themselves in their new environment.
Maintenance and Enjoyment
Once your seedlings are established in their new location, continue to care for them as needed, including regular watering, weeding, and pest control. As your flowers bloom and flourish, take time to enjoy the beauty and fragrance they bring to your garden.
Conclusion
Starting flower seeds indoors is a fulfilling endeavor that allows you to extend your gardening season and enjoy a wider variety of flowers in your garden. By selecting the right seeds, providing proper care, and following the steps outlined in this comprehensive guide, you can successfully grow healthy and vibrant flowers from seedlings. With patience and dedication, you’ll soon be rewarded with a garden bursting with color and beauty.


