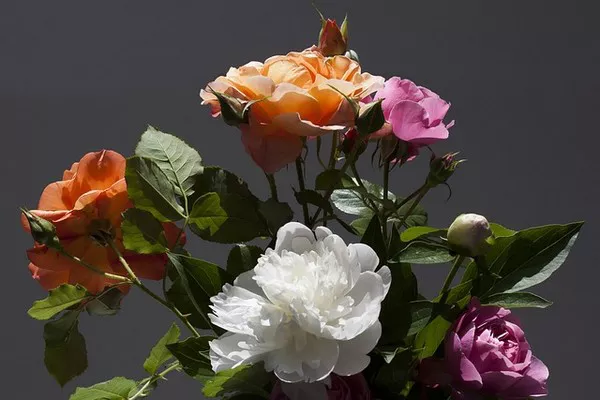
Pressing flowers is a timeless art form, preserving nature’s beauty in a delicate and everlasting form. However, adding a touch of color to pressed flowers can elevate them to a new level of creativity and expression. Dyeing pressed flowers opens up a world of possibilities, allowing you to customize your floral arrangements and craft projects to suit any occasion or aesthetic. In this comprehensive guide, we’ll explore various dyeing techniques, tips for selecting the right materials, and step-by-step instructions to help you achieve stunning results.
Dyeing Pressed Flowers
Dyeing pressed flowers involves infusing color into dried petals and foliage while preserving their delicate structure. Unlike fresh flowers, pressed flowers have already undergone a drying process, making them more porous and receptive to dyes. By carefully selecting dyes and applying them with precision, you can achieve vibrant, long-lasting colors that retain the natural beauty of the flowers.
Materials Needed
Before you begin dyeing pressed flowers, gather the following materials:
1. Pressed flowers – Ensure your flowers are fully dried and pressed to prevent mold or discoloration during the dyeing process.
2. Fabric dye or floral dye – Choose dyes specifically formulated for use on natural materials like flowers. Options include liquid dyes, powdered dyes, and spray dyes.
3. Small bowls or containers – Use these to mix and dilute the dye solutions.
4. Paintbrushes or droppers – These tools allow for precise application of the dye to the flowers.
5. Paper towels or newspaper – Protect your work surface from spills and drips.
6. Gloves – Wear gloves to protect your hands from staining.
7. Optional: Sealant spray – A clear sealant can help preserve the color and integrity of the dyed flowers.
Choosing the Right Dye
When selecting a dye for your pressed flowers, consider the following factors:
1. Type of dye: Fabric dyes and floral dyes are both suitable for dyeing pressed flowers. Fabric dyes offer a wide range of colors and are readily available at craft stores. Floral dyes are specifically formulated for use on flowers and may offer more subtle, natural-looking shades.
2. Color intensity: Decide whether you want vibrant, bold colors or softer, more muted hues. Keep in mind that the intensity of the dye may vary depending on factors such as the type of flower and the concentration of the dye solution.
3. Permanence: Consider whether you want the color to be permanent or temporary. Some dyes are more fade-resistant than others, particularly when exposed to light and humidity.
Dyeing Techniques
There are several techniques for dyeing pressed flowers, each yielding unique results. Experiment with different methods to achieve the desired color and effect. Here are three popular techniques:
1. Immersion Dyeing: In this method, the pressed flowers are submerged in a dye solution to absorb the color. Start by preparing the dye according to the manufacturer’s instructions. Place the pressed flowers in the dye solution and allow them to soak for several minutes or until they reach the desired shade. Remove the flowers from the dye bath and gently blot them with paper towels to remove excess moisture. Allow the dyed flowers to dry completely before handling.
2. Brush Dyeing: Brush dyeing allows for precise control over the application of color. Mix the dye to the desired concentration in a small bowl or container. Using a paintbrush or dropper, carefully apply the dye to the petals and foliage of the pressed flowers. Start with lighter colors and gradually layer on additional coats for more intensity. Allow each layer to dry before applying the next. This technique is ideal for creating intricate designs and patterns on individual flowers.
3. Spray Dyeing: Spray dyeing offers a quick and convenient way to apply color to pressed flowers. Fill a spray bottle with diluted dye solution, adjusting the concentration to achieve the desired color intensity. Hold the spray bottle several inches away from the pressed flowers and mist them evenly with the dye. Use a sweeping motion to ensure thorough coverage. Allow the dyed flowers to dry completely before handling. This technique is great for covering large areas or achieving a subtle, airbrushed effect.
Tips for Success
Follow these tips to ensure successful results when dyeing pressed flowers:
1. Test a small sample: Before dyeing a large batch of pressed flowers, test the dye on a small sample to evaluate the color and compatibility with the material.
2. Use light, even strokes: When applying dye with a paintbrush or spray bottle, use light, even strokes to avoid saturating the flowers and causing them to become limp or discolored.
3. Allow for drying time: Ensure that the dyed flowers are completely dry before handling or storing them. This helps prevent smudging or transferring of the dye.
4. Seal the color: For added protection and longevity, consider sealing the dyed flowers with a clear sealant spray. This helps preserve the color and prevent fading over time.
5. Get creative: Experiment with different dyeing techniques, color combinations, and flower varieties to unleash your creativity and create unique floral creations.
Conclusion
Dyeing pressed flowers is a rewarding and creative process that allows you to enhance the beauty of nature with vibrant colors and personalized designs. With the right materials, techniques, and a touch of creativity, you can transform ordinary pressed flowers into stunning works of art that will be cherished for years to come. Whether you’re creating handmade cards, framed botanical prints, or decorative accents for your home, dyeing pressed flowers offers endless possibilities for expression and beauty. So gather your materials, unleash your imagination, and let the colors of nature inspire your next floral masterpiece.


