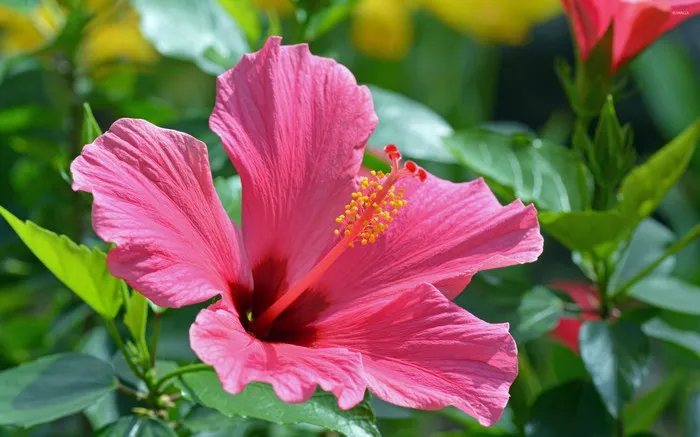
Paper flowers are a delightful and timeless craft, offering a creative outlet for artistic expression and a way to bring the beauty of nature indoors. Among the diverse array of paper flowers, the hibiscus stands out with its vibrant colors and intricate petals. In this comprehensive guide, we will explore the art of crafting paper hibiscus flowers, providing detailed instructions and tips to help you create stunning botanical masterpieces.
Materials Needed:
Before diving into the crafting process, gather the necessary materials. Here’s what you’ll need:
- Colored crepe paper in shades of red, pink, or yellow (for petals)
- Green crepe paper (for leaves)
- Floral wire
- Floral tape
- Scissors
- Pencil
- Hot glue gun and glue sticks
SEE ALSO: Crafting Paper Carnation Flowers: Materials & Techiques
A Step-by-Step Guide for Beginners
Step 1: Prepare the Petals
Begin by cutting out petals from the colored crepe paper. You can use a template for consistency or freehand cut them for a more organic look. Each hibiscus flower typically consists of five large petals and five smaller inner petals.
To create the large petals:
Cut elongated tear-drop shapes from the crepe paper, approximately 3-4 inches in length.
Make a small slit at the pointed end of each petal to create a slight separation.
For the smaller inner petals:
Cut smaller tear-drop shapes, about 2-3 inches in length.
Again, make a small slit at the pointed end of each petal.
Step 2: Form the Flower Center
Next, take a piece of floral wire and bend it into a small loop at one end to serve as the flower center. This loop will anchor the inner petals.
Using the hot glue gun, carefully attach the smaller inner petals around the loop, overlapping them slightly to create a layered effect. Hold each petal in place until the glue sets.
Step 3: Assemble the Petals
Once the flower center is prepared, it’s time to attach the larger petals. Take one petal at a time and wrap it around the flower center, securing it with a dab of hot glue at the base. Position the petals evenly around the center, overlapping them slightly for a full and natural look.
Continue attaching the remaining petals in the same manner until all five large petals are in place.
Step 4: Shape and Sculpt the Petals
To give your paper hibiscus a lifelike appearance, gently stretch and manipulate the petals. Use your fingers to curl the edges inward, creating a cupped shape. You can also gently pull and twist the petals to add dimension and texture.
Take your time with this step, experimenting with different shapes and angles until you’re satisfied with the overall look of the flower.
Step 5: Create the Leaves
No hibiscus flower is complete without its lush green foliage. To make the leaves, cut out leaf shapes from the green crepe paper. You can vary the size and shape of the leaves for added realism.
Once the leaves are cut out, attach them to floral wire stems using floral tape. Position the leaves beneath the flower head, securing them in place with hot glue if necessary.
Step 6: Finishing Touches
With the flower and leaves assembled, it’s time for the final touches. Take a moment to adjust the positioning of the petals and leaves, ensuring everything looks balanced and natural.
If desired, add extra details such as yellow stamens in the center of the flower or subtle shading to the petals using colored pencils or pastels.
Step 7: Display and Enjoy
Your paper hibiscus flower is now complete and ready to be displayed! Arrange it in a vase or use it to embellish gift wrapping, home décor, or party decorations. With proper care, your paper hibiscus will bring beauty and cheer for years to come.
Tips and Tricks:
Experiment with different colors and sizes of crepe paper to create unique hibiscus variations.
Don’t be afraid to get creative with petal shapes and arrangements to mimic the diverse range of hibiscus species.
If you’re having trouble shaping the petals, try using a small round object like a pencil or dowel to gently curl the edges.
For added durability, consider spraying your finished paper hibiscus with a clear sealant or hairspray to protect it from dust and moisture.
Conclusion:
Crafting paper hibiscus flowers is a rewarding and enjoyable experience that allows you to bring a touch of tropical beauty into your home. With a few simple materials and a bit of creativity, you can create stunning botanical creations that capture the essence of these vibrant and exotic blooms. Whether you’re a seasoned crafter or a novice enthusiast, this step-by-step guide provides all the tools and inspiration you need to embark on your paper flower journey. So gather your supplies, unleash your imagination, and let the beauty of paper hibiscus flowers bloom!


