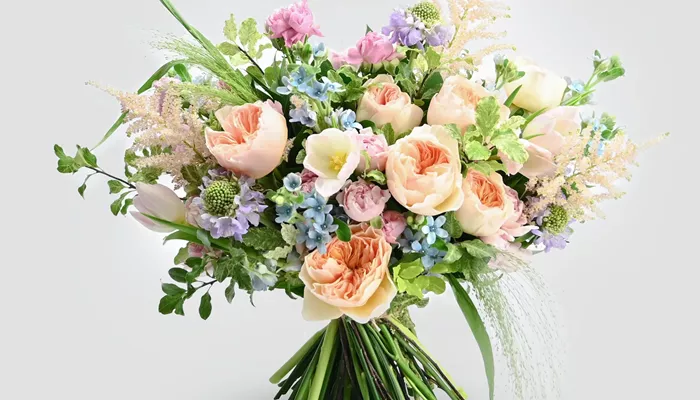
Imagine receiving a birthday card that not only conveys heartfelt wishes but also dazzles with the beauty of flowers. A flower-themed birthday card can transform a simple greeting into a cherished keepsake. Whether you’re a seasoned crafter or a novice, creating a flower birthday card offers an opportunity to blend creativity with personal touch. This guide will walk you through each step of making a stunning flower birthday card, ensuring your creation stands out and leaves a lasting impression.
Why Choose a Flower-Themed Birthday Card?
Flowers symbolize beauty, love, and joy—perfect sentiments for a birthday. A flower-themed card can evoke feelings of happiness and celebration, making it an ideal choice for expressing your best wishes. Flowers come in various colors and types, each carrying its own meaning. By choosing the right flowers, you can tailor your card to match the recipient’s personality or preferences.
Materials You’ll Need
To create a beautiful flower birthday card, gather the following materials:
Cardstock: Choose high-quality cardstock for the base of your card. Colors like white, cream, or pastels work well.
Floral Paper: Patterned paper with floral designs adds a decorative touch.
Craft Flowers: These can be real dried flowers, faux flowers, or flower stickers.
Glue: Use craft glue or a glue stick.
Scissors: For cutting paper and floral elements.
Markers or Pens: To write your message.
Embossing Tools: Optional, for adding texture.
Ribbon or Lace: For added embellishment.
Crafting Tools: Such as a ruler, bone folder, and cutting mat.
see also: Choosing the Perfect Plant for a Birthday Gift
Step-by-Step Instructions
1. Choosing Your Design
Determine the Card Size
Decide on the size of your card. Common sizes are 5×7 inches or 4.25×5.5 inches. Fold your cardstock in half to create the base of your card.
Select a Floral Theme
Choose a floral theme that suits the recipient. For example:
Romantic: Use roses, peonies, or tulips.
Joyful: Opt for daisies, sunflowers, or lilies.
Elegant: Incorporate orchids, calla lilies, or hydrangeas.
2. Preparing the Base
Cutting the Cardstock
Measure and cut your cardstock to the desired size. Fold it carefully to create a neat crease.
Adding Background Paper
Cut a piece of floral patterned paper slightly smaller than your card. Glue it onto the front of the card. This paper serves as the background for your flower arrangement.
3. Creating the Flower Arrangement
Selecting Flower Elements
Choose the type of flowers you want to use. Arrange them on the card to find a pleasing layout. Consider using a mix of sizes and colors for visual interest.
Attaching the Flowers
Real Dried Flowers: Apply a small amount of glue to the back of each flower. Place them on the card and press gently to secure.
Faux Flowers: Attach with glue or double-sided tape. Arrange them in clusters or single placements.
Flower Stickers: Peel and stick directly onto the card.
Adding Depth and Texture
For added texture, consider embossing some elements. Use embossing folders or tools to create raised patterns on your flowers or background.
4. Personalizing the Card
Writing Your Message
Choose a marker or pen that complements your floral theme. Write a heartfelt message inside the card. You can also add small decorative elements, like tiny flowers or hearts, around the message.
Adding Embellishments
Enhance your card with additional decorations:
Ribbon: Wrap a piece of ribbon around the card and tie it into a bow.
Lace: Glue lace along the edges or as a border.
Sequins or Beads: Add a touch of sparkle with sequins or beads glued onto the flowers.
Creating a Flower Frame
For a unique touch, create a flower frame around your message. Cut out a window in the front of your card and decorate the frame with flowers. This adds a 3D effect and draws attention to your message.
5. Final Touches
Checking for Details
Ensure all elements are securely attached and that the card is neatly finished. Trim any excess glue or paper for a polished look.
Envelopes and Presentation
Choose an envelope that matches your card. You can also decorate the envelope with matching flowers or a simple design to tie everything together.
Conclusion: A Keepsake to Cherish
Creating a flower-themed birthday card is a wonderful way to convey your wishes and add a personal touch to a special occasion. By selecting the right materials and following these steps, you can craft a card that is not only beautiful but also meaningful. The recipient will surely appreciate the time and effort you put into making their birthday memorable. Start gathering your materials and let your creativity blossom. Whether you’re making a card for a loved one or for a special occasion, your floral creation will surely bring smiles and joy. Happy crafting!


