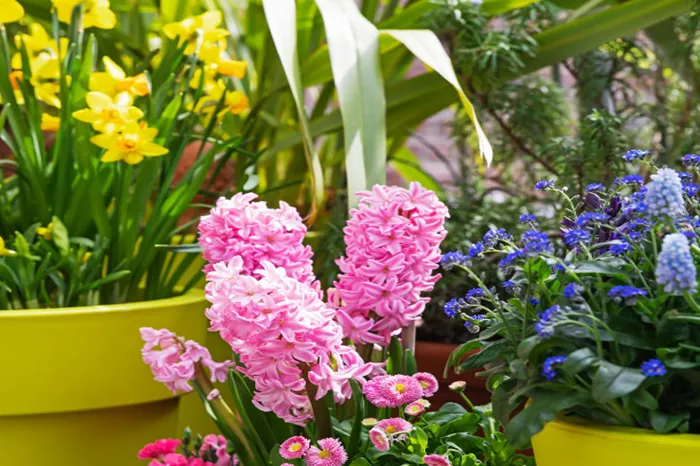
A bulb lasagne involves layering spring-flowering bulbs in a pot, resulting in a continuous, vibrant display that can last for months. With autumn being the perfect time for planting bulbs and vegetables, this gardening technique is an ideal way to add long-lasting beauty to your garden.
What is a Bulb Lasagne?
Much like making lasagne, a bulb lasagne involves layering bulbs in a pot, one on top of the other. The bulbs that bloom last are placed at the bottom, while the early bloomers are layered on top. As each layer of flowers fades, the next set of blooms emerges from below, ensuring a steady display of color throughout spring.
Best Bulbs for a Bulb Lasagne
There are various bulbs to choose from for a successful bulb lasagne. Some popular options include:
- Daffodils
- Crocuses
- Tulips
- Irises
- Alliums
“You can mix different types of spring-flowering bulbs like daffodils, crocuses, and tulips to create a varied and vibrant display,” says Luke Dejahang, a gardening expert at Crown Pavilions. He also recommends experimenting with different variations of the same flower for a unique look.
Charlotte Denne from Kent Wildflower Seeds suggests adding wildflower bulbs such as snakeshead fritillary, English bluebells, and wild daffodils for a natural, springtime display in pots or borders.
How Many Layers Can You Include in a Bulb Lasagne?
“Typically, most bulb lasagnes have two to three layers, as deeper containers are required for more layers,” explains Graham Smith, a gardening expert at LBS Horticulture. A container that’s too shallow will limit the number of bulbs you can layer effectively.
Step-by-Step Guide to Planting a Bulb Lasagne
1. Choose a Deep Container
The first step is to select a container that is at least 30 to 50 cm deep. Polly Wilkinson, a garden designer from Studio Pollyanna, suggests determining your pot size based on the number of bulbs you’re planting. For instance, 40 bulbs would fit best in a 40 cm pot.
2. Prepare the Soil
Ensure your pot has drainage holes to prevent water from accumulating and rotting the bulbs. Add a layer of compost to the bottom of the pot before starting with the bulbs.
3. Layer the First Set of Bulbs
Begin by placing your first layer of bulbs—typically the latest-flowering bulbs such as tulips or alliums—around 40-50 cm below the surface. You can plant them tightly, but make sure they aren’t touching each other. Always plant bulbs with the pointed end facing up. If unsure, plant them on their side, as they will naturally find their way up.
4. Add the Next Layer
After the first layer is in place, cover it with around 10 cm of compost. Then, plant the next set of bulbs, such as narcissus, crocuses, or hyacinths, which bloom earlier. Don’t worry if these bulbs sit above another layer; they will grow through the gaps.
5. Complete the Layers and Top with Compost
Continue this process until you reach the top of the pot, finishing with a layer of compost. For added appeal, consider topping off your pot with violas or wallflowers, which can provide color through the winter months.
Caring for Your Bulb Lasagne
Once your bulbs have finished flowering (usually around May), you may want to carefully remove the bulbs while keeping the leaves intact. Store them somewhere out of sight until the leaves die back and return their energy to the bulb for the next year.
Graham Smith adds that while some bulbs may rebloom in future years, they may not be as spectacular as in their first year. If you plan to reuse your bulbs, dig them up after flowering and store them in a dry location.
With this simple, layered technique, you can enjoy months of continuous blooms, bringing vibrant color to your garden all spring long.


