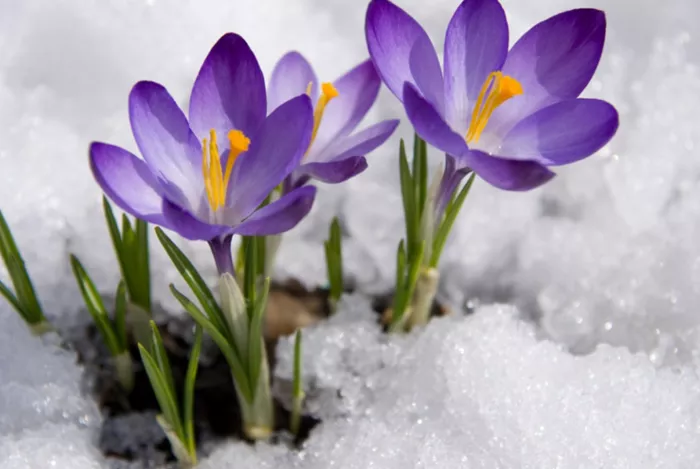
ST. ANTHONY – Fall bulb planting is an easy and rewarding way to create a vibrant spring garden. Spring-flowering bulbs such as tulips, daffodils, crocuses, and hyacinths provide early color, transforming the landscape after a long winter when few other plants are in bloom.
With the right variety choices and proper garden preparation, your bulbs can produce a beautiful, low-maintenance display year after year. Whether you’re an experienced gardener or just starting out, understanding the basics of bulb planting ensures a successful and colorful spring garden.
Choosing the Right Bulbs
Selecting the right bulbs is crucial for a lasting spring display. First, consider your climate. Many spring-flowering bulbs, like tulips and daffodils, need a cold period to bloom well. In colder areas such as Eastern Idaho, the natural winter chill helps most bulbs thrive.
Soil type is also important. Bulbs need well-drained soil to avoid rot. If your garden has heavy clay soil, adding compost or using raised beds can improve drainage. Choose bulbs that bloom at different times—early, mid, or late spring—so your garden stays colorful for longer.
It’s also important to choose quality bulbs. Look for firm, large bulbs without blemishes or mold, as larger bulbs generally produce stronger plants and more vibrant flowers. Consider the height and color of each type to ensure they complement each other and fit your garden design.
Some gardeners prefer to mix tall, dramatic blooms, like alliums, with smaller flowers, such as crocuses. Tulips may need replanting each year, while daffodils and crocuses can return and multiply over time. By selecting the right bulbs for your garden, you’ll set the foundation for a stunning spring display.
Preparing the Planting Site
Site preparation is key to healthy bulbs and beautiful blooms. Choose a well-drained area with full sunlight for at least six hours a day. Avoid low-lying spots where water pools, as bulbs do not do well in wet conditions. Improve soil drainage by mixing in organic material, like compost or manure. Loosen the soil to a depth of 12-14 inches to make it easier for roots to establish.
If your soil is heavy clay, adding sand or grit can improve drainage. It’s also a good idea to test your soil’s pH, aiming for a neutral to slightly acidic range, as most bulbs prefer this environment. Preparing your site correctly gives your bulbs the best chance to grow well in the spring.
Planting Bulbs Correctly
To ensure your bulbs develop strong roots and healthy blooms, dig holes or trenches that are three times the height of the bulb. This depth protects them from frost and provides enough space for root growth.
Space your bulbs according to the variety, generally 3 to 6 inches apart. If you want a natural look, scatter the bulbs randomly in clusters rather than planting them in straight rows. Make sure to plant them with the pointed side up, as this is where the stem will grow. After covering the bulbs with soil, firm it down to eliminate air pockets. Water thoroughly after planting to help the bulbs settle before the ground freezes.
Winter Protection for Bulbs
Protecting your bulbs over winter helps them survive harsh conditions and bloom in spring. After planting, apply a layer of mulch once the ground freezes. Mulch helps insulate the soil and prevents frost heaving, which can push bulbs to the surface. Organic mulch, such as straw, shredded leaves, or wood chips, works well. Apply a 2-4 inch layer over the planting area.
In snowy regions, snow can also act as an insulator. If rodents or other animals are an issue, consider placing a wire mesh or chicken wire over the area to prevent them from digging up your bulbs. Taking these precautions gives your bulbs the best chance to thrive in the spring.
By following these steps—choosing the right bulbs, preparing your site, planting correctly, and protecting your bulbs during winter—you can enjoy a vibrant, colorful garden when spring arrives.
Related topics:
- 5 Colorful Fall Centerpieces with Foliage and Flowers to Enhance Your Tables
- East Lansing Allocates Five-Year Plan for Invasive Plant Removal
- How Cities Are Integrating Native Plants into Landscaping?


