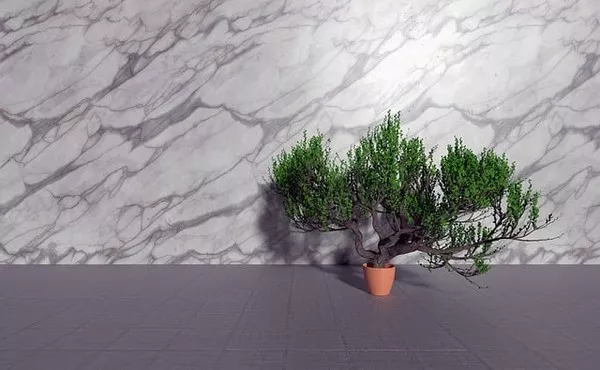
Introduction to Bonsai Trees Bonsai, the art of growing miniature trees in containers, has captivated enthusiasts for centuries. While many bonsai trees are cultivated from established plants, planting a bonsai tree from seed presents a unique and rewarding challenge. In this guide, we will explore the step-by-step process of growing a bonsai tree from seed, enabling you to embark on a fulfilling journey of creation, patience, and beauty.
Selecting the Right Bonsai Seeds
Choosing the suitable bonsai seeds is crucial for the success of your project. Opt for species that are known to thrive as bonsai trees and suit your climate conditions. Some popular choices include Japanese maple, Chinese elm, juniper, pine, and ficus. It is advisable to purchase seeds from reputable nurseries or specialized bonsai suppliers to ensure their quality and authenticity.
Gathering the Required Materials
Before you start planting your bonsai seeds, gather the necessary materials:
High-quality soil: Look for well-draining soil mixes specifically formulated for bonsai cultivation.
Bonsai pot or container: Select a container that suits the size and style you envision for your bonsai tree.
Plastic nursery pots: These will be used during the early stages of growth.
Watering can: Use a small watering can with a fine nozzle to provide adequate moisture without disturbing the delicate seeds.
Fertilizer: Choose a balanced organic fertilizer designed for bonsai trees.
Clear plastic bag or propagator: This will help create a humid environment for the germination process.
Labels: Keep track of the different seed varieties by labeling each pot.
Germinating Bonsai Seeds
Follow these steps to successfully germinate your bonsai seeds:
Stratification:
Some bonsai seeds require stratification, a process that simulates winter conditions to break their dormancy. Place the seeds in a moist paper towel and seal them in a plastic bag. Store the bag in the refrigerator for the recommended duration, typically 30-90 days.
Seed sowing:
Fill nursery pots with well-draining soil mix. Moisten the soil slightly and make a small indentation in each pot. Place one seed in each indentation and cover it lightly with soil. Water gently to ensure proper moisture.
Enclose in a propagator:
To create a warm and humid environment ideal for germination, cover the pots with a clear plastic bag or place them in a propagator. Position them in a warm spot with indirect sunlight. Monitor the moisture levels and provide water whenever necessary.
Patience and monitoring:
Germination can take several weeks or even months, depending on the species. Regularly check the pots for signs of life and maintain the appropriate moisture levels. Be patient, as some seeds may have different germination rates.
Transplanting and Early Care
Once your bonsai seedlings have sprouted and developed several sets of leaves, it’s time to transplant them into individual bonsai pots. Follow these steps:
Preparing the bonsai pot:
Choose a pot that is proportionate to the size of your seedling. Ensure it has sufficient drainage holes. Fill it with a suitable bonsai soil mix, leaving space at the top for watering.
Carefully remove the seedlings:
Gently loosen the soil around the base of the seedlings and lift them out, taking care not to damage the delicate roots.
Pruning and shaping:
Trim the taproot to encourage lateral root growth and promote a healthy root system. Additionally, prune the stem and branches to shape the tree according to your desired style.
Transplanting:
Place the seedling in the center of the pot, ensuring the roots are spread out evenly. Fill the remaining space with bonsai soil mix, gently pressing it down to eliminate air pockets.
Watering and care:
Water the newly transplanted seedling thoroughly and place it in a shaded area for a few weeks to minimize stress. Monitor the moisture levels and provide water as needed. Shield the young tree from strong winds and extreme temperatures.


