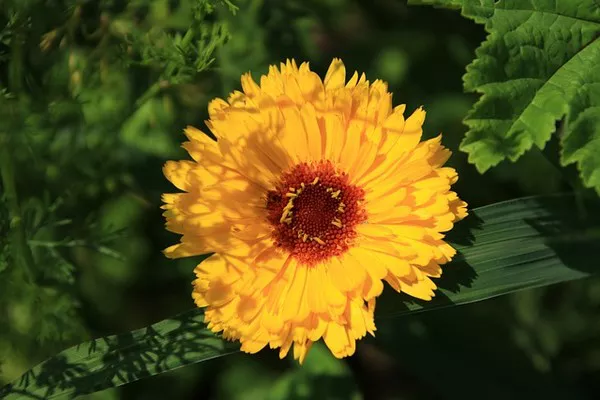
Coneflowers, also known as Echinacea, are strikingly beautiful and resilient perennial plants that bring an enchanting touch to any garden. Their colorful daisy-like blooms and long-lasting flowering period make them a favorite among both novice and experienced gardeners. If you’ve ever wondered how to grow coneflowers from seed and witness the magic of nurturing these exquisite flowers, this comprehensive step-by-step guide is here to help you succeed.
1. Understanding Coneflower Seeds
Before delving into the exciting world of coneflower cultivation, it’s essential to understand the nature of coneflower seeds. Coneflower seeds are relatively large and easy to handle, which makes them perfect for starting your garden from scratch. These seeds are typically dark brown or black and may have a feathery appearance. Coneflowers are native to North America, making them well-adapted to various climates and soil conditions.
2. Selecting the Right Coneflower Seeds
To ensure successful germination and healthy growth, it’s crucial to start with high-quality coneflower seeds. Purchase seeds from reputable sources, such as garden centers or online nurseries, to guarantee their viability. Look for fresh seeds that have been properly stored and avoid any that appear shriveled or damaged.
3. Preparing for Planting
Once you have acquired your coneflower seeds, it’s time to prepare for planting. Follow these steps to create the ideal environment for your seeds:
a. Choosing the Planting Location:
Select a sunny location in your garden that receives at least 6 to 8 hours of direct sunlight each day. Coneflowers thrive in full sun, which encourages robust growth and abundant flowering.
b. Soil Preparation:
Coneflowers prefer well-draining soil with a slightly acidic to neutral pH level. Amend the soil with organic matter, such as compost, to enhance its fertility and drainage capabilities. Loose, loamy soil provides an excellent foundation for coneflower roots to establish themselves.
c. Planting Time:
The best time to plant coneflower seeds is in the early spring or fall. In warmer climates, fall planting is often preferred as it allows the seeds to experience a chilling period over winter, which can enhance germination rates.
4. Sowing Coneflower Seeds
Now that your planting site is ready, it’s time to sow the coneflower seeds. Follow these steps to ensure successful sowing:
a. Scarification (Optional):
Some coneflower species have hard seed coats that benefit from scarification, a process that helps to break the seed coat and encourage germination. To scarify coneflower seeds, gently rub them with sandpaper or nick the seed coat with a sharp knife. Be careful not to damage the embryo inside.
b. Cold Stratification (Optional):
As mentioned earlier, cold stratification can boost germination rates, especially for species native to colder regions. To cold stratify coneflower seeds, place them in a sealed plastic bag with a slightly damp paper towel. Place the bag in the refrigerator for about 4 to 6 weeks before sowing.
c. Sowing the Seeds:
Make small furrows or depressions in the prepared soil, spaced about 12 to 18 inches apart. Place the coneflower seeds in the furrows, ensuring they are not planted too deep. Cover the seeds with a thin layer of soil and gently pat it down.
5. Watering and Care
After sowing the coneflower seeds, proper watering and care are vital for their successful germination and growth. Follow these guidelines:
a. Watering:
Keep the soil consistently moist but not waterlogged during the germination period. Once the seedlings emerge, reduce the frequency of watering, allowing the soil to dry slightly between watering sessions. Mature coneflowers are drought-tolerant, but young seedlings need more regular moisture.
b. Thinning Seedlings:
When the seedlings reach a height of a few inches, thin them out to maintain proper spacing. Space the strongest seedlings at least 18 inches apart to give them ample room to grow and prevent competition for resources.
c. Fertilizing:
Avoid excessive fertilization, as coneflowers prefer nutrient-poor soil. However, incorporating a balanced, slow-release fertilizer during the growing season can provide the necessary nutrients for healthy growth.
d. Mulching:
Apply a layer of organic mulch around the base of the coneflower plants to conserve moisture, suppress weed growth, and protect the roots during extreme temperatures.
6. Enjoying the Blooms
With proper care and patience, your coneflower seeds will grow into vibrant and flourishing plants. Coneflowers typically bloom from early summer to fall, attracting butterflies and bees to your garden with their nectar-rich flowers. Deadheading spent blooms can encourage prolonged flowering and prevent self-seeding.
In conclusion
growing coneflowers from seed is a rewarding and gratifying experience for any gardener. From selecting high-quality seeds to providing the right conditions for germination and growth, this step-by-step guide equips you with the knowledge to cultivate thriving coneflowers that will brighten your garden for years to come. So, roll up your sleeves, get your hands dirty, and embark on the journey of growing these splendid blooms – you won’t be disappointed!


