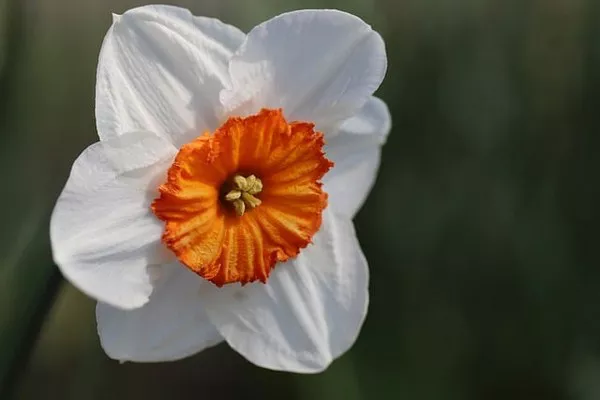
Pressing flowers is a delightful and timeless craft that allows you to preserve the beauty of blooms for various artistic and decorative purposes. Whether you want to create pressed flower arrangements, greeting cards, or botanical artwork, knowing how to properly press flowers is essential for achieving excellent results. In this comprehensive guide, we will explore five key aspects of pressing flowers, providing you with step-by-step instructions and tips to help you master this art form.
Choosing the Right Flowers
1. Selecting Fresh and Healthy Blooms:
When it comes to pressing flowers, choosing the right specimens is crucial. Opt for flowers that are fresh, vibrant, and free from blemishes or signs of decay. Flowers that are past their prime or already wilting may not yield desirable results.
2. Flat and Thin-Petaled Flowers:
Flowers with flat and thin petals tend to press more effectively. Examples of suitable flowers include daisies, pansies, violets, and cosmos. Avoid using thick-petaled flowers like roses or flowers with a high water content, as they may not dry well and can become discolored.
3. Preparing the Flowers:
Before pressing, gently remove any excess foliage or greenery from the stems. This ensures that the flowers fit easily between the pages of the press and reduces the risk of mold or discoloration during the drying process.
Pressing Methods
1. Traditional Pressing with Books:
The traditional method of pressing flowers involves using heavy books to apply even pressure and remove moisture. Place the flowers between layers of absorbent paper, ensuring they do not overlap, and then place them in the middle of a book. Close the book and add additional weight, such as more books or a heavy object, on top. Let the flowers dry for 1-2 weeks, replacing the absorbent paper if it becomes damp.
2. Using a Flower Press:
A flower press is a purpose-built tool designed for pressing flowers. It typically consists of two wooden boards with straps or screws to apply pressure. Follow the manufacturer’s instructions to insert the flowers between layers of blotting paper or cardboard and secure them in the press. Leave the flowers to dry for the recommended duration.
3. Microwave Flower Pressing:
For a quicker method, consider using a microwave flower press. Place the flowers between layers of microwave-safe paper, such as coffee filters or parchment paper, and microwave them for short intervals on low heat. Be cautious not to overheat the flowers, as they can become brittle.
Drying Duration
1. Patience is Key:
The pressing process requires patience, as flowers take time to dry thoroughly. Avoid the temptation to check on the flowers too frequently, as this can disrupt the drying process. Let the flowers remain undisturbed until the recommended drying duration is complete.
2. Testing for Dryness:
To determine if the flowers are fully dry, carefully touch the petals. They should feel dry and papery to the touch. If any residual moisture remains, the flowers may become moldy during storage.
3. Extending Drying Time:
In humid environments or with flowers that have a high water content, you may need to extend the drying time. Consider leaving the flowers pressed for an additional few days or using a dehumidifier in the drying area.
Preserving Color and Shape
1. Preventing Color Fading:
To preserve the vibrant colors of pressed flowers, keep them away from direct sunlight and excessive heat. Display them in shadow boxes or under UV-resistant glass to protect them from fading over time.
2. Maintaining Shape and Structure:
When placing the flowers in the press, arrange them carefully to maintain their natural shape and structure. Avoid pressing flowers with overlapping petals or stems, as this can result in a distorted appearance.
3. Adding Support:
For delicate flowers or those with thin stems, consider using additional support when pressing, such as small pieces of cardboard or tissue paper. This helps maintain the flowers’ integrity during the drying process.
Storing Pressed Flowers
1. Acid-Free Storage:
To store pressed flowers long-term, use acid-free paper or archival sleeves. Acidic materials can cause discoloration and deterioration over time.
2. Avoiding Moisture and Humidity:
Store pressed flowers in a cool, dry place away from humidity or moisture, as this can lead to mold growth.
3. Display and Creativity:
Explore various ways to showcase your pressed flowers, such as framing them for wall art, creating bookmarks, or incorporating them into homemade candles or resin crafts.
Conclusion:
Pressing flowers is a rewarding and artistic endeavor that allows you to cherish the beauty of blooms throughout the year. By selecting the right flowers, using suitable pressing methods, allowing sufficient drying time, preserving colors and shapes, and storing them properly, you can create stunning pressed flower creations that will last for years to come. Let your creativity bloom as you delve into this enchanting craft!


