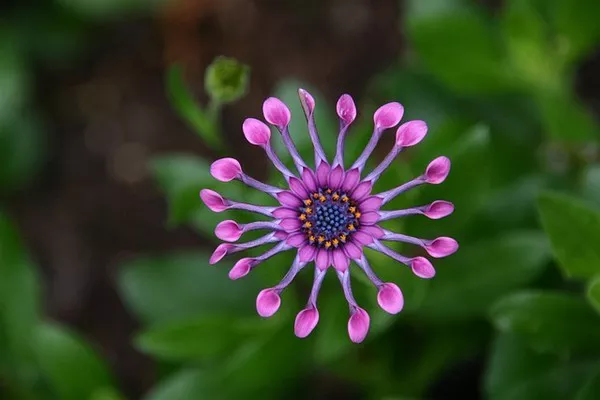
Starting flowers from seeds is a rewarding and cost-effective way to create a vibrant and diverse garden. It allows you to witness the entire lifecycle of a plant, from germination to blooming, and offers a deeper connection to your garden. While the process may seem daunting, with the right knowledge and approach, anyone can successfully start flowers from seeds. This comprehensive guide will walk you through the steps, from selecting seeds to nurturing your young plants into full-grown blooms.
Step 1: Choosing the Right Seeds
Selecting the right seeds is the foundation of successful flower cultivation. Consider the climate, soil type, and sunlight conditions in your region. Opt for native or well-adapted species that thrive in your area, as they are more likely to flourish. High-quality seeds from reputable suppliers also increase your chances of success.
Step 2: Gathering Supplies
Before you begin, gather all the necessary supplies:
Containers: Use seed trays, pots, or peat pots with good drainage to start seeds.
Growing Medium: A lightweight, well-draining seed-starting mix provides the ideal environment for germination.
Light Source: Natural sunlight or fluorescent grow lights are essential for healthy seedling growth.
Labels: Use plant labels to keep track of different seed varieties.
Watering Tools: A misting spray bottle and a watering can with a fine spout help prevent overwatering.
Heat Source: A seedling heat mat maintains consistent soil temperature, aiding germination.
Transparent Dome or Plastic Wrap: Creating a mini greenhouse effect helps retain moisture during germination.
Step 3: Sowing Seeds
Prepare the Containers: Fill containers with the seed-starting mix, leaving a small gap at the top. Moisten the mix before sowing.
Sow the Seeds: Follow the instructions on the seed packet for proper depth and spacing. As a general rule, plant seeds at a depth of two to three times their diameter.
Cover and Label: Gently cover the seeds with a thin layer of seed-starting mix. Place a transparent dome or plastic wrap over the containers to create a humid environment. Label each container with the seed variety and date of sowing.
Provide Optimal Conditions: Place the containers in a warm, well-lit area. If using a heat mat, set it to the recommended temperature for the specific seeds. Monitor moisture levels and mist as needed to keep the soil consistently damp.
Step 4: Germination and Early Growth
Monitor Germination: Different seeds have varying germination times. Be patient and keep an eye on the containers. Once seedlings emerge, remove the dome or plastic wrap.
Introduce Light: As soon as the first seedlings appear, provide adequate light. If using natural sunlight, ensure they receive 12-16 hours of direct light per day. If using grow lights, keep them 2-4 inches above the seedlings and adjust as they grow.
Thinning: If multiple seedlings sprout in a single container, thin them out by snipping the weakest ones at soil level. This prevents overcrowding and competition for resources.
Transplanting: Once the seedlings develop their second set of true leaves, they can be transplanted into larger pots or directly into the garden, if weather conditions permit.
Step 5: Nurturing Young Plants
Hardening Off: Before transplanting seedlings outdoors, gradually expose them to outdoor conditions over the course of 7-10 days. Start with a few hours of indirect sunlight and gradually increase exposure. This process toughens the plants and reduces transplant shock.
Choosing the Right Location: Select a planting site with the appropriate amount of sunlight and soil conditions for the specific flower species. Prepare the soil by loosening it and adding organic matter.
Transplanting: Dig a hole slightly larger than the root ball of the seedling. Gently remove the seedling from its container, place it in the hole, and backfill with soil. Water thoroughly to help settle the soil around the roots.
Mulching and Watering: Apply a layer of mulch around the base of the plant to retain moisture and suppress weeds. Water the seedlings regularly, keeping the soil consistently moist but not waterlogged.
Step 6: Caring for Mature Plants
Fertilization: Feed your mature plants with a balanced, water-soluble fertilizer according to the package instructions. Avoid over-fertilizing, as this can lead to excessive foliage growth and fewer blooms.
Deadheading: Regularly remove spent flowers to encourage continuous blooming and prevent seed formation. This redirects the plant’s energy into producing new blooms.
Pest and Disease Management: Monitor your plants for signs of pests or diseases. Early detection and intervention are key to preventing damage. Consider using natural remedies or environmentally friendly pesticides if necessary.
Conclusion
Starting flowers from seeds is a fulfilling endeavor that allows you to witness the miracle of plant life from its earliest stages. By selecting the right seeds, providing optimal conditions for germination, nurturing young plants, and caring for mature blooms, you can create a breathtaking garden filled with color and vitality. Remember that patience and dedication are essential traits for a successful journey from seed to full-grown flower. With each bloom, you’ll gain a deeper appreciation for the beauty and resilience of nature.


