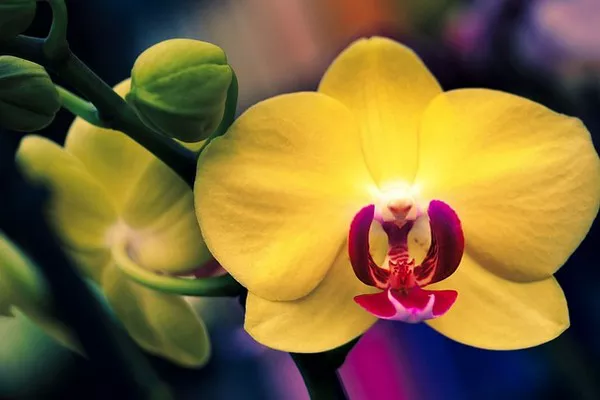
Nature’s delicate beauty has captivated humans for centuries. The fleeting elegance of flowers, in particular, has inspired artists, poets, and enthusiasts alike to find ways to capture and preserve their essence. Pressing flowers is a time-honored technique that allows us to immortalize these ephemeral marvels. Among the various methods available, using wax paper stands out as an accessible and effective way to press flowers while maintaining their color and form. In this comprehensive guide, we will explore the art of pressing flowers with wax paper, step by step.
Why Choose Wax Paper?
When it comes to pressing flowers, selecting the right method and materials is paramount. Wax paper offers a balance between simplicity and efficacy, making it an excellent choice for beginners and experienced enthusiasts alike. Its thin and slightly translucent nature allows for optimal flower preservation, while the wax coating helps maintain the flowers’ moisture and color during the pressing process.
Materials You’ll Need:
Fresh flowers: Choose flowers at their peak, preferably in the morning when they’re hydrated and vibrant.
Wax paper: Ensure it’s unbleached and of good quality to avoid any unwanted chemicals.
Heavy books or a flower press: These will provide the necessary weight to press the flowers.
Scissors or tweezers: For handling delicate flowers.
Parchment paper (optional): Helps prevent wax transfer onto your pressing materials.
Notebook or cards: To display your pressed flowers once they’re ready.
Step-by-Step Guide:
1. Harvesting and Preparing Flowers:
Begin with selecting the flowers you want to press. Choose ones that are free of blemishes and fully blossomed. Avoid using flowers with thick centers, as they might not press well. Delicate flowers like pansies, daisies, and violets are ideal candidates.
2. Preparing Wax Paper:
Cut two sheets of wax paper slightly larger than the size of your flowers. Lay one sheet on a flat surface and place the flowers on it, making sure they don’t overlap. If you’re concerned about wax transfer, you can place a sheet of parchment paper between the flowers and the wax paper.
3. Pressing Flowers:
Once the flowers are arranged on the wax paper, carefully place the second sheet of wax paper on top. This creates a “sandwich” with the flowers in the middle. If you’re using parchment paper, it should be between the two wax paper sheets.
4. Pressing Technique:
Place the flower-filled wax paper sandwich between the pages of a heavy book or inside a flower press. If you’re using a book, make sure it’s one you don’t mind dedicating to this purpose, as wax transfer might occur. Arrange the flowers in the book, leaving enough pages between them to allow for even pressing.
5. Applying Pressure:
Close the book or the flower press and add additional weight on top. You can use more books or some other heavy objects. Applying consistent pressure is crucial for successful flower pressing. The pressure helps flatten the flowers and encourages moisture to be absorbed by the wax paper.
6. Waiting Game:
Now, patience becomes your companion. Allow the flowers to dry and press for about one to two weeks. The exact time will depend on the thickness and moisture content of the flowers. Check their progress periodically, and replace the wax paper if it becomes damp.
7. Unveiling Your Pressed Flowers:
Once the pressing period is complete, carefully open the book or flower press. Gently peel back the top layer of wax paper to reveal your pressed flowers. Use scissors or tweezers to handle the delicate blossoms, as they may be more brittle now.
8. Displaying Pressed Flowers:
The beauty of pressed flowers lies in their versatility. Use them to create charming greeting cards, bookmarks, or artwork for your home. To showcase your pressed flowers, carefully arrange them on blank notebook pages or cards. You can use glue or double-sided tape to secure them in place.
Tips for Success:
Choose flowers with vibrant colors to ensure a visually appealing result.
Experiment with different flower types and sizes to create diverse compositions.
When arranging flowers on the wax paper, leave some space between them to avoid overlap during pressing.
Store your pressed flowers in a dry, cool place to prevent them from reabsorbing moisture.
If you’re planning to frame your pressed flowers, ensure the frame has UV-protective glass to prevent fading.
In Conclusion:
Preserving the beauty of flowers through pressing is a captivating and rewarding endeavor. Wax paper, with its simple yet effective properties, offers an accessible way to press flowers while maintaining their color and form. By following the steps outlined in this guide and exercising patience, you can create stunning pressed flower arrangements that will stand the test of time and allow you to enjoy the splendor of nature’s creations in new and creative ways.


