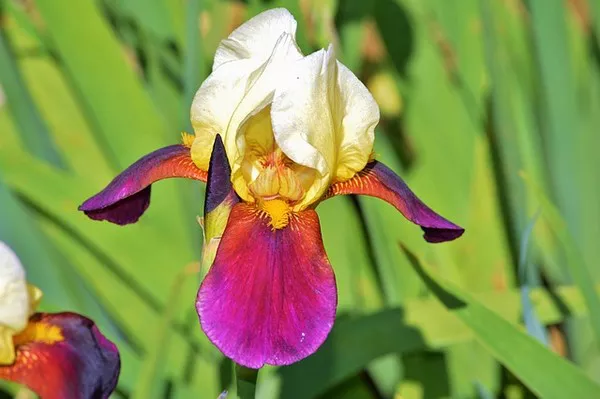
The art of creating paper flower bouquets offers a delightful blend of creativity and craftsmanship. These stunning creations can bring a touch of nature and elegance to any occasion, while also lasting longer than their real counterparts. Whether for weddings, parties, or home decor, paper flower bouquets have become a popular choice due to their versatility and timeless beauty. In this step-by-step guide, we will explore the process of crafting a paper flower bouquet that mirrors the splendor of real flowers, providing an everlasting display of artistry.
Materials You’ll Need
Before diving into the crafting process, gather the necessary materials. Here’s a list to get you started:
Colored craft paper
Floral wire or floral stem wire
Floral tape
Craft glue or hot glue gun
Scissors
Pencil
Template or stencils (optional)
Wire cutters (for thicker stems)
Step 1: Choose Your Flower Designs
Select the types of flowers you’d like to include in your bouquet. You can opt for classic blooms like roses, lilies, or daisies, or explore more intricate designs like peonies or orchids. Feel free to mix and match different flower types to create a diverse and visually appealing bouquet.
Step 2: Prepare the Paper
Trace or draw your chosen flower designs onto the colored craft paper. If you’re not confident in your drawing skills, you can find templates or stencils online to assist you. Use a variety of paper colors to mimic the natural hues of flowers. Once you have the designs outlined, carefully cut them out using scissors.
Step 3: Crafting the Flowers
Now comes the creative process of shaping the paper into lifelike flowers:
Petals:
Start with the largest petals and work your way down to the smallest. Use a pencil or your fingers to gently curl the edges of the petals to add dimension. You can create depth by slightly overlapping and gluing the petals together, giving them a realistic layered appearance.
Center and Stamen:
Craft the flower centers by rolling a small piece of paper into a tight coil. This will serve as the stamen. Attach it to the center of the flower using glue. You can also add a dab of yellow or orange paper at the center to mimic the pollen-bearing part of the flower.
Assembly:
Layer the petals around the center, attaching each layer with glue. Gradually decrease the size of the petals as you move toward the center. This layering technique adds depth and texture to the paper flowers.
Leaves:
Craft leaves by drawing leaf shapes onto green craft paper and cutting them out. You can also enhance the realism by adding vein lines using a pencil or a ballpoint pen. Attach the leaves to the floral wire using glue, ensuring they are spaced naturally along the stem.
Step 4: Creating the Bouquet
Assemble your paper flowers into a beautiful bouquet by following these steps:
Prepare Stems: Attach floral wire or stem wire to the base of each paper flower using craft glue or a hot glue gun. Allow the glue to dry before proceeding.
Wrap Stems: Starting from the base of each flower, wrap the stem with floral tape. Gently stretch the tape as you go, as this will help activate the adhesive and create a secure hold.
Arrange the Bouquet: Arrange your paper flowers in a way that mimics the shape and structure of a real bouquet. Play with different heights, angles, and flower types to achieve an aesthetically pleasing arrangement.
Secure the Bouquet: Once you’re satisfied with the arrangement, gather the stems together and wrap them with floral tape to hold the bouquet in place. Trim the stems to your desired length using wire cutters if needed.
Step 5: Final Touches
To add the finishing touches to your paper flower bouquet:
Ribbon or Embellishments: Wrap a ribbon around the base of the bouquet stems, securing it with a small dab of glue. You can also add decorative elements like pearls, beads, or lace to enhance the bouquet’s elegance.
Fluff and Adjust: Gently fluff the petals and leaves to give your bouquet a more natural appearance. Adjust the positioning of the flowers as needed to achieve balance and symmetry.
Conclusion
Creating a paper flower bouquet is a captivating endeavor that merges artistry with imagination. Through meticulous craftsmanship and attention to detail, you can produce a stunning bouquet that mirrors the allure of real flowers. Whether as a centerpiece for a special occasion or a permanent decor piece, a paper flower bouquet radiates elegance and charm that will be cherished for years to come. With this comprehensive guide in hand, you’re well-equipped to embark on your journey of crafting paper flower masterpieces.


