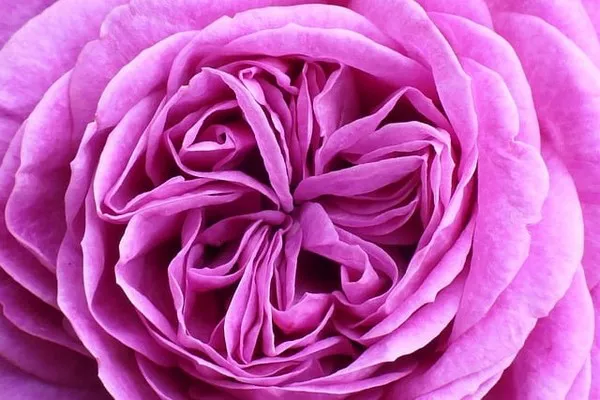
Paper flowers have emerged as a delightful and artistic way to infuse a touch of nature into our surroundings. Whether for home décor, special occasions, or crafting projects, these handcrafted blooms captivate with their beauty and versatility. The allure lies not just in their aesthetic appeal, but also in the ease with which they can be crafted. In this step-by-step guide, we unravel the secrets to crafting stunning paper flowers with ease, inviting you to embark on a journey of creative expression.
Materials You’ll Need:
Colored Craft Paper: Choose vibrant hues that mimic the shades found in real flowers.
Scissors: A sharp pair of scissors is essential for precise cuts.
Craft Glue: Opt for a quick-drying, clear craft glue that ensures a secure bond.
Floral Wire: This provides the structure for the stem.
Floral Tape: Used to wrap the wire and create a realistic stem appearance.
Templates: Utilize pre-made templates or design your own for consistent shapes.
Step 1: Choose Your Flower Design and Template
Begin by selecting the type of flower you’d like to craft. Roses, daisies, and peonies are popular choices, but the options are limitless. Acquire or create templates for the petals, leaves, and any additional elements.
Step 2: Cut Out the Petals and Leaves
Trace the templates onto the colored craft paper and cut out the petals and leaves. Vary the sizes and shapes for a more authentic look. Remember, imperfections lend a natural charm.
Step 3: Create the Flower Center
For flowers like roses, create a tight coil by rolling a strip of paper. Secure the end with a dab of glue. This serves as the flower center.
Step 4: Shape the Petals
Using your fingers, gently curve the petals outward for a realistic appearance. This dimensionality adds depth to the flower.
Step 5: Assemble the Petals
Layer the petals around the flower center, securing them with small amounts of glue. Start with the innermost layer and work your way outward. Stagger the petals for a natural look.
Step 6: Craft the Stem
Wrap floral wire with floral tape to create the stem. Begin at the top and spiral down to the base. This step ensures a lifelike appearance and provides stability.
Step 7: Attach the Leaves
Glue the leaves onto the stem, spacing them evenly. Position them slightly below the flower for a balanced composition.
Step 8: Final Touches
Inspect your paper flower and make any necessary adjustments. Gently fluff the petals and ensure the glue is dry.
Step 9: Display and Enjoy
Place your paper flower in a vase, use it as a centerpiece, or incorporate it into your décor. Bask in the admiration it garners and revel in the satisfaction of your creative achievement.
Tips for Success:
Experiment with Colors: Play with different color combinations to add a personalized touch to your paper flowers.
Texture Matters: Choose textured craft paper to enhance the lifelike appearance of the petals and leaves.
Add Realism: Add depth by lightly brushing the edges of the petals and leaves with a darker shade of the same color.
Embrace Variation: Nature isn’t perfectly symmetrical, so don’t be afraid to create petals of varying sizes and shapes.
Practice Patience: Take your time when gluing and assembling the petals to achieve the desired look.
Customization and Creativity:
One of the most captivating aspects of crafting paper flowers is the endless scope for customization. Experiment with sizes, colors, and petal shapes to mirror your favorite blossoms. Once you’ve mastered the basic techniques, you can elevate your creations with intricate details like gradients, petal veining, and even glitter accents. As you delve deeper into the art of paper flower crafting, you’ll discover new techniques that allow you to infuse your personality and style into each creation.
The Joy of Paper Blooms:
The allure of paper flowers lies not only in their stunning beauty but in the satisfaction of crafting something exquisite with your own hands. This creative endeavor is a testament to the harmony between nature and artistry. As you embark on your paper flower journey, relish the process, and marvel at how these delicate creations infuse joy, elegance, and a touch of the natural world into your space.

