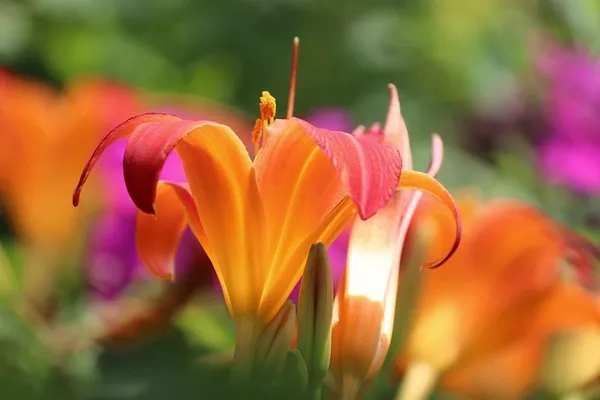
The art of creating paper flowers is a captivating and timeless craft that combines creativity, precision, and imagination. This craft has gained immense popularity due to its versatility, allowing individuals to replicate the beauty of nature while offering limitless customization possibilities. Whether you’re a seasoned crafter or a beginner looking to explore your artistic side, this article will guide you through the intricate process of making stunning paper flowers that rival their natural counterparts.
Materials and Tools
Before embarking on your paper flower journey, it’s essential to gather the necessary materials and tools. These include:
Colored Paper: Choose high-quality colored paper in various shades to match the flowers you wish to create.
Templates: Printable templates or stencils of flower petals and leaves will help you achieve consistent shapes.
Scissors: A pair of sharp, precision scissors is crucial for cutting intricate designs.
Glue: A strong, quick-drying adhesive that’s safe for paper is essential for assembling the flowers.
Wire or Floral Stems: These provide structure and enable you to arrange and display your paper flowers.
Ink and Paints: Optional for adding depth and texture to your creations.
Crafting Tools: Tweezers, a bone folder, and a crafting mat can aid in shaping and assembling the delicate petals.
Step-by-Step Guide
Step 1: Choosing Your Flower Design
Begin by selecting a flower design you’d like to create. Roses, daisies, peonies, and tulips are popular choices. Search for templates online or sketch your design on paper.
Step 2: Cutting the Petals
Using the templates or your hand-drawn design, trace and cut the petals from your colored paper. Vary the sizes and shapes of the petals to add depth and realism to your paper flower.
Step 3: Shaping the Petals
Gently curl the edges of the petals using a rounded object, like a pen or a dowel, to give them a natural curve. This step adds dimension to your flowers.
Step 4: Creating the Center
Craft the center of your flower using a smaller piece of paper, rolling or folding it to achieve the desired shape. This step is particularly important for flowers like roses and peonies.
Step 5: Assembling the Flower
Begin assembling the flower by attaching the petals layer by layer. Apply a small amount of glue at the base of each petal and attach it to the center. Continue layering until you achieve the desired fullness.
Step 6: Crafting the Leaves
Using templates, cut and shape leaves from green paper. Attach them to floral wire or stems using glue.
Step 7: Adding Realism
To add a touch of authenticity, consider using ink or watercolors to add depth and texture to the petals and leaves. This step requires a delicate hand but can elevate your paper flower to a new level of realism.
Step 8: Arrangement and Display
Once your paper flowers are complete, arrange them in a vase or use them to create stunning decorative wreaths or bouquets. Floral foam can help secure the stems in place.
Tips for Success
Practice Patience: Paper flower crafting demands precision and patience. Take your time to cut, shape, and assemble each element meticulously.
Experiment with Colors: Don’t be afraid to experiment with different color combinations to create unique and eye-catching flowers.
Learn from Nature: Observe real flowers to understand their shapes, colors, and proportions. Use this knowledge to enhance the authenticity of your paper creations.
Embrace Imperfections: Remember that perfection isn’t the goal. Embrace the imperfections in your craft, as they often add a touch of handmade charm.
Explore New Techniques: As you gain experience, explore advanced techniques like layering different types of paper, using gradients, and incorporating metallic accents.
Share and Connect: Join crafting communities online or in your local area to share your work, learn from others, and find inspiration.
Advanced Techniques
Once you’ve mastered the basics, consider exploring advanced techniques to take your paper flower crafting to the next level:
Layering and Dimension: Experiment with layering techniques to create more intricate and realistic flowers. Varying petal sizes and shapes, as well as adding multiple layers, can result in stunning visual depth.
Texturizing: Introduce textural elements to your petals by gently crumpling the paper before shaping it. This technique mimics the subtle imperfections found in nature.
Color Blending: Master the art of color blending by using gradients and shading to give your paper flowers a lifelike appearance. This technique requires patience and practice but yields impressive results.
Realistic Veining: Incorporate vein patterns on leaves and petals using fine-tipped markers or pencils. This attention to detail enhances the authenticity of your paper flowers.
Mixed Media: Combine paper with other materials like fabric, ribbon, or wire to create hybrid floral arrangements that showcase a range of textures.
Conclusion
Creating paper flowers is an art that offers a rewarding blend of creativity, craftsmanship, and innovation. With the right materials, tools, and techniques, you can craft intricate and stunning blooms that captivate the eye and inspire awe. Whether you’re looking to add a touch of elegance to your home decor, create personalized gifts, or simply explore a new artistic avenue, the world of paper flowers is ripe for exploration. So, gather your supplies, unleash your creativity, and embark on a journey to craft everlasting beauty from humble paper.


