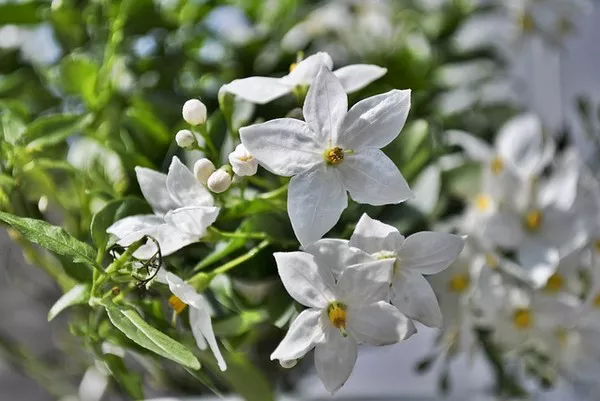
Sunflowers, with their vibrant petals and towering stalks, are not only a symbol of summer but also a captivating subject for art and preservation. Pressing sunflowers allows you to capture their beauty in a timeless way, creating decorative pieces, keepsakes, or even educational resources. In this comprehensive guide, we will explore the art of pressing sunflowers, step by step, to help you create stunning botanical specimens that will last for years to come.
Why Press Sunflowers?
Pressing sunflowers is a delightful way to preserve their natural beauty while unlocking their potential for various creative projects. Whether you want to craft greeting cards, frame your pressed sunflowers as wall art, or simply create a personal herbarium, pressing sunflowers is a rewarding endeavor that connects you to nature in a unique way.
Materials You Will Need
Before we delve into the pressing process, it’s essential to gather all the necessary materials. Here’s a list of items you will need:
Sunflowers: Select sunflowers at their peak bloom. Freshly picked flowers with vibrant petals and sturdy stems work best.
Blotting Paper or Newspaper: Absorbent materials will help remove excess moisture from the flowers during the pressing process.
Heavy Books or a Flower Press: You’ll need something heavy to apply pressure and flatten the sunflowers. Traditional flower presses or a stack of heavy books can be used.
Parchment Paper: This prevents flowers from sticking to the blotting paper or the pages of your books.
Cardstock or Acid-Free Paper: For mounting your pressed sunflowers or creating cards.
Scissors or Pruning Shears: To trim the sunflowers and remove unwanted parts.
Optional: Tweezers, glue, and a magnifying glass for more intricate work.
Step-by-Step Guide
Now that you’ve gathered your materials, let’s dive into the pressing process:
Step 1: Harvesting the Sunflowers
Choose sunflowers that are in full bloom, preferably in the morning when they are well-hydrated. Use pruning shears or scissors to cut the sunflowers with long stems, leaving enough to work with later during the mounting process.
Step 2: Preparing the Pressing Material
Place a sheet of blotting paper or newspaper on a clean, flat surface. If you’re using a flower press, make sure it is clean and dry. Lay a piece of parchment paper on top of the blotting paper or the pages of the flower press.
Step 3: Arranging the Sunflowers
Lay the harvested sunflowers face down on the parchment paper. Ensure that they are not overlapping and that there is some space between each flower to allow for even drying. You can choose to arrange them in a symmetrical or artistic pattern, depending on your preference.
Step 4: Adding More Layers
If you have more sunflowers to press, repeat Step 3 by layering additional blotting paper, parchment paper, and sunflowers. Continue stacking them carefully.
Step 5: Applying Pressure
Once your sunflowers are layered and covered with parchment paper, carefully place a heavy book or the top of your flower press on top of the stack. The weight will help flatten the flowers and facilitate the drying process.
Step 6: Waiting for Drying
Now, patience is key. Leave your sunflowers undisturbed in the press for a minimum of two weeks. This duration may vary depending on factors like humidity and the thickness of the flowers, so check periodically. The flowers are ready when they feel completely dry to the touch and have a papery texture.
Step 7: Removing the Pressed Sunflowers
Gently remove the pressed sunflowers from the press or between the pages of the book. Be cautious during this step, as the dried flowers can be fragile.
Step 8: Mounting Your Sunflowers
To preserve and display your pressed sunflowers, carefully glue them onto cardstock or acid-free paper. Use tweezers for delicate positioning if necessary. You can also add labels with the flower’s common and scientific names, location, and date of pressing for an informative touch.
Step 9: Final Touches
Once the glue is dry, you can further embellish your pressed sunflowers by framing them, incorporating them into homemade cards, or creating a botanical journal.
Tips and Tricks
Choose sunflowers with minimal blemishes or insect damage for the best results.
Press sunflowers during dry, low-humidity days for quicker and more successful drying.
Experiment with different arrangements and backgrounds for unique artistic effects.
Pressed sunflowers can be a thoughtful gift or educational tool. Consider sharing your creations with friends or students.
Conclusion
Pressing sunflowers is a delightful blend of art and science. It allows you to capture the fleeting beauty of these majestic flowers and transform them into enduring works of art. Whether you’re an experienced botanist or an amateur nature enthusiast, pressing sunflowers is an accessible and enjoyable way to connect with the natural world and create beautiful keepsakes that will stand the test of time. So, go ahead, gather your materials, and start pressing sunflowers to embark on a journey of creativity and preservation.


