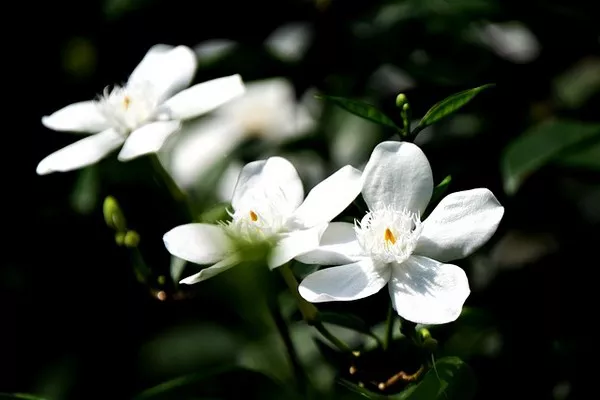
Flowers have long been cherished for their vibrant colors, delicate fragrances, and their ability to convey emotions. While fresh blooms are beautiful, they eventually wither and fade away. Dried flowers offer an alternative, allowing us to preserve the essence of these natural wonders. Framing dried flowers is an excellent way to showcase their beauty, adding an elegant touch to your living spaces. In this comprehensive guide, we will explore the art of framing dried flowers, from choosing the right blooms to the actual framing process, ensuring that you can cherish your floral treasures for years to come.
Choosing the Right Flowers
The first step in framing dried flowers is selecting the right blooms. Not all flowers dry well, and some retain their color and shape better than others. Here are some popular choices:
Roses: Roses are known for their timeless beauty and resilience when dried. They maintain their color and shape, making them a top choice for framing.
Lavender: Lavender’s delicate purple blossoms and soothing fragrance make it a popular choice. When dried properly, lavender retains its color and fragrance, adding a touch of elegance to any frame.
Baby’s Breath: These dainty white flowers dry exceptionally well, and their small, delicate blooms create a charming, ethereal effect when framed.
Eucalyptus: With its silvery-green leaves, eucalyptus adds a touch of rustic elegance to any frame. The leaves dry beautifully and maintain their color.
Daisies: Daisies, with their simple, cheerful appearance, are another excellent choice. They dry well and retain their shape, making them ideal for framing.
Hydrangeas: These large, lush blooms dry with their petals partially open, creating a unique, vintage look in frames. They come in various colors, offering versatility in your designs.
When selecting flowers, choose those that are fully mature but not yet past their prime. Avoid flowers with signs of decay, discoloration, or damage, as these imperfections will be magnified when dried and framed.
Drying the Flowers
Properly drying your chosen flowers is crucial for achieving the best results when framing. There are several methods you can use:
Air Drying: This is the simplest and most common method. Gather your flowers in small bunches, tie them with twine, and hang them upside down in a dark, dry, and well-ventilated area. Allow several weeks for the flowers to fully dry.
Silica Gel: Silica gel is a desiccant that absorbs moisture quickly and effectively. Place your flowers gently in a container filled with silica gel, ensuring they are fully covered. Seal the container and leave it for a few days until the flowers are dry.
Microwave Drying: This method is faster but requires careful monitoring. Place the flowers between two sheets of paper and microwave them in short bursts, checking frequently to prevent overheating.
Pressing: Pressing flowers is a classic method for drying and preserving them. Place your blooms between sheets of absorbent paper and press them in a heavy book for several weeks.
Regardless of the method you choose, remember to handle the flowers gently to avoid damaging their delicate petals and stems.
Preparing for Framing
Once your dried flowers are ready, it’s time to prepare them for framing. Here’s what you’ll need:
Frame: Choose a frame that complements the style of your dried flowers. Shadow boxes work particularly well for 3D displays, allowing ample space between the glass and the blooms.
Matting: Acid-free matting is essential for preserving your flowers. It prevents them from touching the glass, which can cause moisture buildup and damage over time.
Glue or Adhesive: You’ll need a suitable adhesive to attach your dried flowers to the matting. Acid-free glue or adhesive dots are safe choices.
Backing Material: A sturdy backing board will provide support and ensure the frame’s durability.
Tweezers: These are handy for delicate flower placement.
Arranging and Framing Your Flowers
With your materials ready, you can now arrange and frame your dried flowers:
Matting: Cut the matting to fit your frame’s dimensions, leaving enough space for your dried flowers. Ensure that it is clean and free of dust.
Layout: Before attaching anything, experiment with different layouts for your dried flowers on the matting. Arrange them in a visually pleasing composition, considering color, shape, and size.
Attachment: Once you’re satisfied with your arrangement, use tweezers to carefully glue each flower in place. Be precise and patient, ensuring each bloom is securely attached.
Spacing: Maintain even spacing between the flowers and ensure they don’t touch the glass.
Sealing: Once all the flowers are in place, seal the matting and flowers with the backing board. Make sure everything is secure within the frame.
Frame Assembly: Assemble your frame, ensuring it is clean and free of smudges or fingerprints on the glass.
Display: Find the perfect spot to display your framed dried flowers, away from direct sunlight and excessive humidity, which can cause fading and damage over time.
Caring for Framed Dried Flowers
To ensure the longevity of your framed dried flowers, follow these care tips:
Avoid Direct Sunlight: Display your framed flowers away from direct sunlight, as it can cause colors to fade over time.
Keep Them Dry: Ensure your framed flowers are not exposed to excessive humidity, as moisture can damage the blooms.
Dust Carefully: Dust your framed flowers gently with a soft brush or a can of compressed air to avoid damaging them.
Regular Inspection: Periodically inspect your framed flowers for any signs of decay, mold, or insect infestations. If you notice any issues, consider reframing or replacing them.
Handle with Care: When moving or cleaning your framed flowers, handle them gently to prevent damage to the delicate blooms.
Conclusion
Framing dried flowers is a creative and meaningful way to preserve the beauty of nature and create stunning decor for your home. With careful selection, proper drying, and meticulous framing, you can enjoy the elegance of dried flowers for years to come, adding a touch of nature’s beauty to your living spaces.


