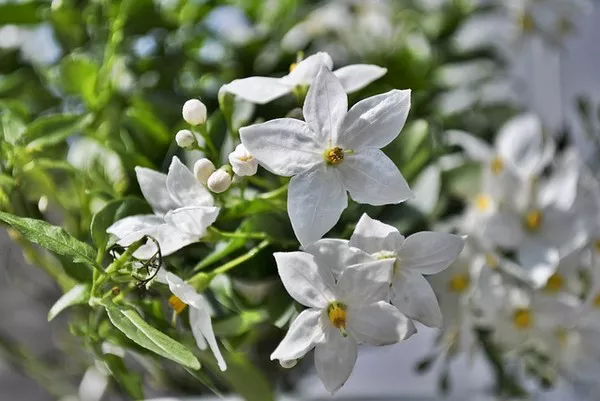
The art of paper flower folding, also known as origami, has been practiced for centuries. It combines creativity, precision, and patience to transform a simple sheet of paper into a stunning and intricate flower. Whether you’re a beginner looking to embark on this creative journey or an experienced origami enthusiast seeking new challenges, this comprehensive guide will help you master the art of folding paper flowers. In this article, we will explore the materials you need, basic folding techniques, and step-by-step instructions for creating your own beautiful paper blooms.
Materials You’ll Need
Before we dive into the intricate world of paper flower folding, let’s gather the essential materials you’ll need for this artistic endeavor:
Paper: Start with square sheets of paper. Origami paper, also known as kami, is the ideal choice due to its thin and foldable nature. However, you can experiment with other types of paper, such as colored, patterned, or even recycled paper, to achieve different effects.
Scissors (optional): While origami traditionally involves pure folding without cutting, some complex designs may require minor trimming. Scissors can be handy for these situations.
Glue (optional): To add layers or secure specific elements, you may want to use a small amount of glue. It’s best to use clear, quick-drying glue to maintain the aesthetic appeal of your paper flower.
Pencil and eraser (optional): For marking folds and making templates for intricate designs.
Now that you have your materials ready, let’s explore the basic folding techniques and then move on to creating a simple paper flower.
Basic Folding Techniques
Valley Fold: The valley fold is one of the fundamental folds in origami. To create a valley fold, simply fold the paper in half, aligning the edges, and crease along the folded edge.
Mountain Fold: The mountain fold is the opposite of the valley fold. It involves folding the paper away from you, creating a “peak” in the middle of the fold.
Squash Fold: The squash fold involves opening up a flap of paper and flattening it down, creating a diamond or square shape.
Petal Fold: The petal fold is used to create petals on flowers. It involves folding a small section of paper inward and then unfolding it, creating a petal-like shape.
Inside Reverse Fold: This fold is often used to hide flaps or create detailed shapes within a model. It involves reversing a fold that is inside the paper, so the crease is concealed.
Creating a Simple Paper Flower
Now that you’re familiar with some basic folding techniques, let’s create a simple paper flower. We’ll be making a classic origami tulip:
Step 1: Start with a square piece of paper, ideally in a color that resembles a tulip. A 6×6-inch square works well for this project.
Step 2: Begin with the paper color-side down. Fold it in half diagonally, forming a triangle. Crease the fold well.
Step 3: Unfold the triangle, revealing a crease down the center. Now, fold the paper in half diagonally in the opposite direction, forming another triangle. Crease this fold well as well.
Step 4: Unfold the triangle again, returning to the square shape. You should now see an “X” shape formed by the creases on your paper.
Step 5: Fold the top layer of the top-right triangle down along the existing crease, creating a smaller triangle shape on top of the larger square.
Step 6: Repeat the same fold with the top layer of the bottom-left triangle, forming a second smaller triangle on the bottom-left side of the square.
Step 7: Flip the paper over to the other side.
Step 8: Fold the right and left sides of the square inward to meet at the center crease, creating a narrow rectangle shape. Crease well.
Step 9: Flip the paper back to the front side.
Step 10: Fold the top flap of the rectangle down along the top edge, creating a triangle shape.
Step 11: Turn the model over.
Step 12: Fold the other top flap down along the top edge to complete the triangle shape. You should now have a diamond shape with two layers.
Step 13: Carefully open up the two layers of the diamond, revealing a small pocket. Gently flatten the pocket, creating the tulip’s petal shape.
Step 14: To finish your tulip, gently curl the top edges of the petal outward to create a more natural tulip shape.
Congratulations! You’ve just created a simple origami tulip. This is just the beginning of your paper flower folding journey. With practice and patience, you can explore more complex designs and develop your own unique variations.
Conclusion
Paper flower folding, or origami, is a beautiful and meditative art form that allows you to create intricate and delicate flowers from a single sheet of paper. With the right materials, basic folding techniques, and step-by-step instructions, you can start your own journey into this captivating craft. Whether you choose to make simple tulips or more complex designs,the key is to practice and enjoy the process of transforming plain paper into stunning blooms. So, gather your materials, follow our guide, and let your creativity blossom as you fold your way to a garden of paper flowers.


