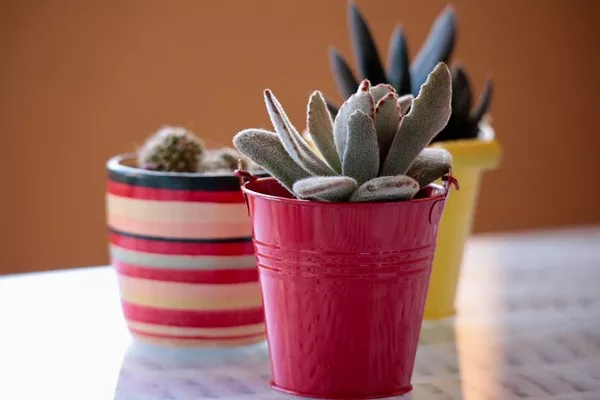
Succulents are beloved for their unique, fleshy appearance and ease of care. They are resilient plants that can thrive in a variety of conditions, making them a popular choice for both beginners and experienced gardeners. One of the most rewarding ways to expand your succulent collection is by propagating them from cuttings. In this article, we will provide you with a comprehensive step-by-step guide on how to successfully transplant succulents from cuttings, ensuring that your new plants thrive and flourish.
Gathering the Necessary Materials
Before you begin the transplanting process, it’s essential to gather all the materials you will need. Here is a list of items you’ll require:
a. Healthy Succulent Plant: Select a mature succulent plant as the source for your cuttings. Choose a plant with well-developed, healthy leaves.
b. Pruning Shears or Scissors: You’ll need a clean, sharp pair of pruning shears or scissors to make clean cuts without damaging the plant.
c. Suitable Container: Choose a shallow container with drainage holes to plant your succulent cuttings. Terra cotta pots or plastic trays work well.
d. Succulent Soil Mix: Use a well-draining succulent soil mix or create your own by mixing potting soil with perlite or sand.
e. Rooting Hormone (optional): While not necessary, rooting hormone can promote faster root development in your cuttings.
Selecting and Taking Succulent Cuttings
The first step in transplanting succulents from cuttings is to carefully select and take the cuttings. Follow these steps:
a. Identify Suitable Cuttings: Look for healthy leaves or stems on the parent succulent plant. Choose sections that are free from damage or disease.
b. Cut with Precision: Use your pruning shears or scissors to make clean cuts. For leaves, cut them cleanly at the base of the leaf where it connects to the stem. If taking stem cuttings, make a clean, angled cut.
c. Allow Cuttings to Callus: This step is crucial to prevent rotting. Place the cuttings in a dry, shaded area and allow them to callus for a day or two. The callus acts as a barrier against moisture, preventing fungal issues.
Preparing the Container
Prepare the container that you will use to root your succulent cuttings. Here’s how:
a. Add Drainage Material: Place a layer of small rocks or gravel at the bottom of the container to ensure proper drainage.
b. Fill with Succulent Soil: Fill the container with your chosen succulent soil mix, leaving about an inch of space at the top.
Planting the Succulent Cuttings
Now that your container is prepared, it’s time to plant the succulent cuttings:
a. Insert the Cuttings: Make small holes in the soil using your finger or a stick. Gently insert the callused end of the succulent cuttings into the holes. Ensure that the cuttings are stable and upright.
b. Space Them Appropriately: Leave enough space between each cutting to allow for air circulation and future growth.
c. Water Sparingly: Water the cuttings lightly to settle the soil, but avoid overwatering. Succulents are prone to rot if the soil remains too wet.
Caring for Newly Planted Succulent Cuttings
Proper care is essential during the initial stages of transplanting succulent cuttings. Here are some care guidelines to follow:
a. Provide Indirect Sunlight: Place the container in a location where the cuttings receive bright, indirect sunlight. Avoid exposing them to direct sunlight, as this can scorch the delicate cuttings.
b. Maintain Proper Moisture Levels: Water the cuttings sparingly, only when the soil is completely dry. Overwatering can lead to rot, so it’s better to err on the side of caution.
c. Avoid Disturbing the Cuttings: Resist the urge to touch or move the cuttings frequently. Allow them to establish roots and settle into their new environment.
d. Optional Rooting Hormone: If you’re using rooting hormone, follow the manufacturer’s instructions for application. Rooting hormone can accelerate the root development process.
Transplanting Succulent Cuttings into Individual Pots
Once your succulent cuttings have developed strong roots and are showing signs of new growth, it’s time to transplant them into individual pots. Here’s how:
a. Choose Appropriate Pots: Select small pots with drainage holes that are just slightly larger than the root system of the cutting.
b. Fill with Soil: Fill each pot with succulent soil mix, leaving enough space for the root ball of the cutting.
c. Gently Remove the Cutting: Carefully remove the cutting from the original container, ensuring you do not damage the delicate roots.
d. Plant in New Pot: Place the cutting in the center of the new pot and fill the remaining space with soil. Ensure that the cutting is at the same soil level as it was in the original container.
e. Water Lightly: Water the newly transplanted succulent lightly to settle the soil and hydrate the roots.
Continued Care for Established Succulents
After transplanting your succulent cuttings into individual pots, the care routine remains similar to mature succulent plants:
a. Sunlight: Provide bright, indirect sunlight. Adjust the light exposure as needed to prevent sunburn.
b. Watering: Continue to water sparingly, allowing the soil to dry out between waterings.
c. Fertilizing: Use a diluted, balanced succulent fertilizer during the growing season (typically spring and summer) to provide essential nutrients.
d. Pruning: Remove any dead or decaying leaves to encourage healthy growth.
Conclusion
Transplanting succulents from cuttings can be a rewarding and cost-effective way to expand your succulent collection. By following the steps outlined in this guide, you can increase your chances of success and watch your succulent cuttings grow into thriving plants. Remember that patience and proper care are key to cultivating healthy succulents from cuttings. With time and attention, you’ll be rewarded with a beautiful collection of these unique and resilient plants. Happy gardening!


