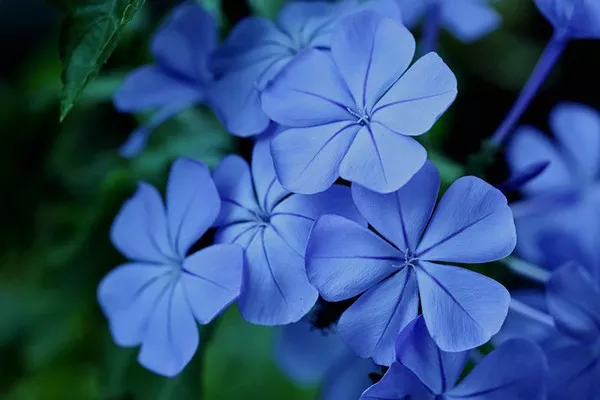
The art of crafting paper flowers is a timeless and delightful hobby that allows for endless creativity and expression. Whether you’re a beginner looking for a fun project or an experienced crafter seeking a new challenge, creating paper flowers is a rewarding and therapeutic endeavor. This article will guide you through the steps to make simple paper flowers, providing detailed instructions, tips, and inspiration to help you craft your own stunning blossoms.
Materials Needed
Before diving into the creative process, gather the necessary materials. To make simple paper flowers, you’ll need the following:
Colored paper: Choose the colors you desire for your flowers. You can use regular craft paper, cardstock, or even recycled materials.
Scissors: A pair of sharp scissors is essential for precise cutting.
Glue: A good-quality craft glue, glue gun, or double-sided tape can be used to assemble your flowers.
Pencil: For tracing and marking shapes.
Ruler: Helpful for measuring and ensuring uniformity.
Floral wire or pipe cleaners: These will serve as the stem for your paper flowers.
Floral tape or green crepe paper: To wrap around the stem and give it a natural look.
Step 1: Choose Your Flower Design
Before you begin cutting and shaping your paper, decide on the type of flower you want to create. Some popular options for beginners include roses, daisies, and tulips. It’s also a good idea to find reference images of real flowers to use as inspiration.
Step 2: Cutting Petal Shapes
Once you’ve chosen your flower, you’ll need to cut petal shapes from your colored paper. For a basic flower, cut several teardrop-shaped petals. The number of petals you cut will depend on the size and fullness of your desired flower. You can use different sizes of petals to create a more natural look.
Pro Tip: If you’re unsure about the petal shape or size, you can print templates from the internet and trace them onto your colored paper.
Step 3: Shaping the Petals
To give your petals a more natural appearance, gently curl their edges. You can do this by rolling the edge of each petal around a pencil or your finger. This adds depth and dimension to your flower.
Step 4: Assembling the Flower
To assemble your paper flower, begin by taking one petal and adding a small amount of glue to the pointed end. Attach it to the top of your floral wire or pipe cleaner, about an inch from the top.
Continue adding petals one by one, overlapping them slightly, and securing with glue. As you go, alternate the position of the petals to create a full, balanced look. Ensure that the petals are evenly spaced around the stem.
Step 5: Creating the Center
To complete your flower, you can add a contrasting color for the center. Cut a small circle or square from a different colored paper and scrunch it up into a small ball. Glue this ball to the center of your flower to cover the base of the petals and create a realistic center.
Step 6: Attaching the Stem
Once you have your flower assembled, wrap the stem with floral tape or green crepe paper to give it a natural appearance. Start at the base of the flower and wind the tape or paper down the stem. Secure it in place by applying gentle pressure. Trim any excess stem length as needed.
Step 7: Finishing Touches
After attaching the stem, you can further personalize your paper flower by adding details such as leaves or extra petals. Simply cut and shape these elements as you did with the petals and attach them to the stem as desired.
Tips for Success
Experiment with different paper types: Try various textures and weights of paper to achieve different looks. Tissue paper can create delicate, translucent petals, while cardstock offers sturdier and more vibrant flowers.
Use a variety of colors: Mix and match different colors to create multicolored or gradient paper flowers for added visual appeal.
Play with sizes: Vary the size of your petals to create different flower shapes and sizes. Smaller petals at the center can give a more realistic appearance.
Practice patience: Crafting paper flowers can be a bit time-consuming, so take your time, and don’t rush the process.
Experiment with techniques: There are numerous techniques for making paper flowers, from quilling to origami. Don’t be afraid to explore new methods and styles.
Conclusion
Creating simple paper flowers is a delightful craft that offers endless possibilities for creativity and self-expression. With just a few basic materials and some patience, you can craft beautiful paper blossoms that are perfect for home décor, gifts, or even special occasions like weddings and parties. This article has provided you with a step-by-step guide to get started, but the real magic comes from your own imagination and personal touch. So, pick up your scissors and start crafting your own bouquet of paper flowers today!


