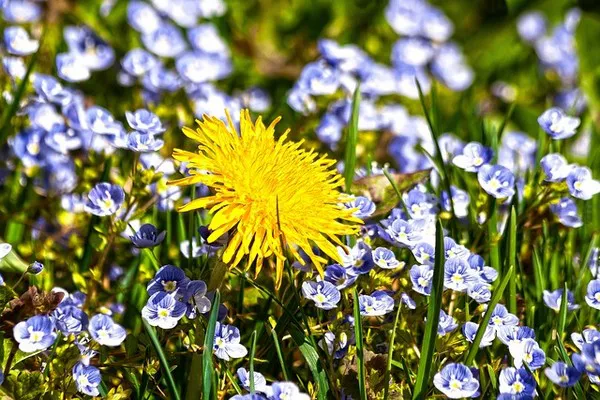
Flowers are a universal symbol of beauty and sentiment, capturing the essence of nature’s artistry. Preserving these ephemeral treasures through the art of pressing flowers allows us to extend their lifespan and create captivating, timeless works of art. Whether you’re a seasoned artisan or a novice enthusiast, this comprehensive guide will take you through the steps of making pressed flowers with precision and creativity.
The craft of pressing flowers is a delicate and timeless art that has been cherished for generations. It enables us to capture the fleeting beauty of blooms, creating botanical masterpieces that can be used for various artistic and decorative purposes. The process is both simple and deeply satisfying, offering a bridge between nature and creativity. In this guide, we will explore the methods, materials, and creative ideas that can help you make pressed flowers with finesse.
Materials and Tools
Before you embark on your journey to press flowers, it’s crucial to gather the necessary materials and tools to ensure your success:
Fresh Flowers: Start with fresh, vibrant blooms. Choose flowers that have just opened and are free from blemishes. Ensure that they are dry and free from dew or rainwater.
Parchment Paper or Blotting Paper: To protect the flowers from staining and sticking to other surfaces, use parchment paper or specialized blotting paper. These materials help absorb moisture during the pressing process.
Heavy Books or a Flower Press: The most common method of pressing flowers is using heavy books. Alternatively, you can use a flower press, which is designed for this purpose and applies even pressure.
Cardstock or Heavy Paper: For creating a firm base for the flowers to rest on within the press.
Weights: If using a flower press, you may require additional weights to ensure even pressure. Ceramic tiles or bricks can serve this purpose.
Tweezers or Forceps: For handling delicate flowers without damaging them.
Scissors: To trim the stems of the flowers as needed.
A Dry, Dark Place: Choose a location that is cool, dry, and away from direct sunlight to store your flowers during the pressing process.
Steps to Make Pressed Flowers
Harvesting and Preparation:
Choose your flowers when they are at their freshest, typically in the morning.
Use sharp scissors to cut the blooms. Ensure you leave a portion of the stem attached, making it easier to handle.
Remove any leaves or greenery, as they can retain moisture and cause mold during the pressing process.
Pressing the Flowers:
- Place a piece of cardstock or heavy paper inside your flower press or between the pages of a heavy book.
- Lay the flowers on the paper, ensuring they do not overlap or touch.
- Cover the flowers with parchment paper or blotting paper to prevent them from sticking to the pages or absorbing moisture.
- Close the press or book gently to avoid damaging the flowers.
If using a book, stack additional books on top to apply even pressure. If using a flower press, follow the manufacturer’s instructions.
Leave the flowers to press for 2-4 weeks, occasionally checking for moisture and mold. Replace the parchment paper if
necessary.
Drying and Preservation:
Once the flowers are completely dry and flat, they are ready for preservation.
Carefully remove the pressed flowers from the press or book using tweezers.
Trim any excess stems.
To further preserve the pressed flowers and prevent fading, consider using a floral spray or a clear, non-toxic sealant. Ensure you follow the product’s instructions for best results.
Creative Ideas for Pressed Flowers
Pressing flowers is a versatile and artistic endeavor that opens up numerous creative possibilities. Here are some ideas for incorporating pressed flowers into your projects:
Framed Artwork: Pressed flowers make exquisite framed artwork. Arrange them in an aesthetically pleasing composition between two panes of glass for a sophisticated display piece.
Greeting Cards: Create personalized greeting cards by adding pressed flowers to the design. This adds a unique and sentimental touch to your messages.
Bookmarks: Craft your own custom bookmarks by encasing pressed flowers in clear adhesive sheets or laminating them.
Home Décor: Pressed flowers can be used to decorate a wide range of home accessories, such as coasters, trays, and lampshades. Apply a coat of decoupage glue to affix the flowers and seal them.
Resin Jewelry: Incorporate pressed flowers into resin to craft beautiful, one-of-a-kind jewelry pieces. Pendants, earrings, and bangles are popular choices.
Wedding Keepsakes: Preserve the beauty of your wedding bouquet by pressing and framing the flowers. It serves as a cherished keepsake from your special day.
Botanical Journaling: Enhance your journaling or scrapbooking with pressed flowers. They can be affixed to the pages using glue or washi tape.
Herbarium: Create a personalized her barium by mounting pressed flowers on acid-free paper, labeling them with their botanical names, and storing them in archival binders.
Tips and Tricks
- Experiment with different flower types to discover which ones press best and maintain their color.
- Be patient. Pressing flowers requires time and a certain amount of trial and error to achieve the desired results.
- Store your pressed flowers in a dry, cool place, away from direct sunlight, to prevent fading.
- Always handle pressed flowers with care to avoid damaging their delicate structures.
Conclusion
The art of making pressed flowers is an ancient craft that continues to captivate and inspire us with its timeless beauty. By following the steps outlined in this comprehensive guide and embracing your creativity, you can embark on a journey of preserving nature’s elegance. Whether you choose to use your pressed flowers for artistic expression or simply to create lasting memories, the process of pressing flowers is a rewarding and meditative practice that connects us with the ever-changing beauty of the natural world. So, gather your blooms, embark on this creative endeavor, and explore the myriad possibilities that pressed flowers have to offer.


